Picture this: you spend six hours building a feature, save it, then accidentally break everything trying to “improve” it. With no way to go back, you’re stuck rewriting code from memory. Now imagine a tool that records every change you make, lets you rewind to any earlier version in seconds, and allows a whole team to work on the same project without overwriting each other’s work. That tool is Git, and paired with GitHub, it forms the backbone of how modern software gets built.
This Git and GitHub tutorial walks you through version control from the ground up. You’ll learn what these tools actually do, how they differ, and the exact commands you’ll use every day as a developer in 2026. No prior experience required — just a willingness to type a few commands and watch the magic happen.
What Is Version Control and Why Should You Care?
Version control is a system that records changes to a file or set of files over time so you can recall specific versions later. Instead of saving copies named project_final, project_final_v2, and project_REALLY_final, version control keeps a complete, organized history of your project in one place — including who changed what, when, and why.
Git is the most widely used version control system in the world. It was created in 2005 by Linus Torvalds, the same person who created Linux, specifically to manage large, collaborative codebases. Today it powers everything from solo side projects to operating systems used by billions.
The benefits go well beyond simply undoing mistakes. Version control gives you a safety net to experiment freely, a detailed audit trail of your project’s evolution, and the ability to collaborate with developers anywhere on the planet without emailing zip files back and forth.
Git vs. GitHub: Understanding the Key Difference
Beginners constantly confuse these two, so let’s settle it clearly. Git is the version control software that runs on your computer. GitHub is a cloud-based hosting service for Git repositories — a website where you store, share, and collaborate on Git projects.
A helpful analogy: Git is like the camera that takes photos of your project at different moments. GitHub is the online photo album where you upload those photos so others can view and contribute to them. You can absolutely use Git without GitHub, but GitHub becomes essential the moment you collaborate or want a remote backup.
| Aspect | Git | GitHub |
|---|---|---|
| What it is | Version control software | Cloud hosting platform for Git |
| Where it runs | Locally on your machine | On the web (remote servers) |
| Internet needed | No | Yes |
| Primary purpose | Track changes and history | Store, share, and collaborate |
| Alternatives | Mercurial, SVN | GitLab, Bitbucket |
It’s also worth knowing that GitHub is one of several Git hosting options. GitLab and Bitbucket offer similar features, and the Git commands you learn here work identically across all of them.
Setting Up Git on Your Machine
Before you can use Git, you need to install it. Head to the official Git downloads page and grab the installer for your operating system. Windows, macOS, and Linux are all supported, and the default installation options are fine for beginners.
Once installed, verify it worked by opening your terminal (Command Prompt, PowerShell, or Terminal) and checking the version:
# Confirm Git is installed and see the version number
git --version
If you see something like git version 2.45.0, you’re ready to go. The next step is to tell Git who you are. Every change you record is stamped with your name and email, so configure them once globally:
# Set your identity for all repositories on this machine
git config --global user.name "Your Name"
git config --global user.email "[email protected]"

# Set the default branch name to 'main' (the modern standard)
git config --global init.defaultBranch main
These settings are saved permanently, so you only do this once per computer. The --global flag applies them to every project; you can override them per-project later if needed. Using main as the default branch name matches what GitHub and most teams use today.
Core Git Commands Every Beginner Should Know
Git revolves around a small set of commands you’ll use constantly. Let’s create a project and walk through the essential workflow step by step. First, create a folder and turn it into a Git repository:
# Create a project folder and move into it
mkdir my-first-repo
cd my-first-repo

# Initialize Git tracking in this folder
git init
The git init command creates a hidden .git folder that stores your entire project history. Your folder is now a repository (or “repo”). Now create a file and ask Git about its status:
# Create a simple file
echo "# My First Project" > README.md

# See which files Git is tracking or ignoring
git status
The git status command is your best friend — it shows you exactly what’s changed and what Git is about to do. Right now it reports README.md as “untracked.” To save it, you use a two-step process: stage, then commit.
# Stage the file (mark it to be saved in the next commit)
git add README.md

# Commit the staged changes with a descriptive message
git commit -m "Add project README"
This two-step dance trips up beginners, so here’s the why. Staging (with git add) lets you choose precisely which changes go into a snapshot, even if you edited ten files but only want to save three. Committing (with git commit) permanently records that snapshot in your history with a message explaining what changed.
Write commit messages in the imperative mood — “Add login form,” not “Added login form.” This reads like a command and matches Git’s own auto-generated messages, keeping your history consistent.
To review your project’s history, use git log:
# View commit history in a compact, readable format
git log --oneline
The --oneline flag condenses each commit to a single line showing its unique ID (a hash) and message. This history is the audit trail that makes version control so powerful — every snapshot is recoverable.
Working with Branches in Git
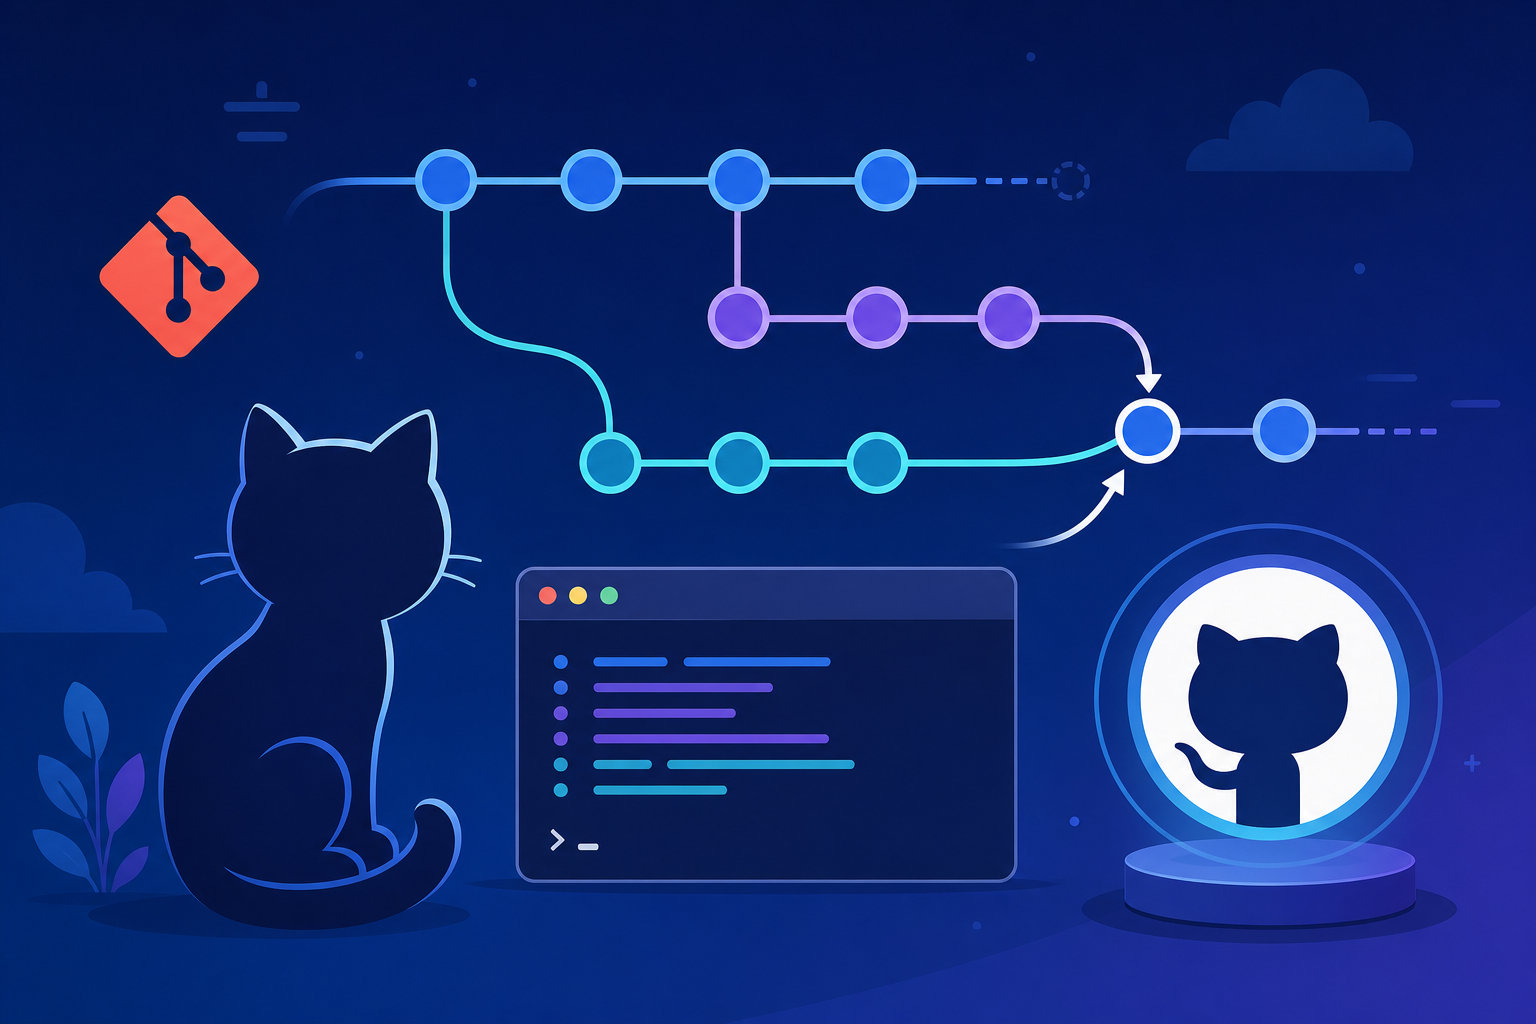
Branches are arguably Git’s most powerful feature. A branch is an independent line of development that lets you build new features or fix bugs without touching the stable version of your code. Think of it as a parallel universe for your project where you can experiment safely.
The default branch is called main. When you start a new feature, you create a branch off it, do your work, and merge it back when ready:
# Create a new branch and switch to it in one step
git switch -c feature-login

# ...make your changes and commit them as usual...
git add .
git commit -m "Add user login page"

# Switch back to the main branch
git switch main

# Merge your feature branch into main
git merge feature-login
The modern git switch -c command creates and moves to a new branch in one step (older tutorials use git checkout -b, which still works). After committing your work on feature-login, you switch back to main and use git merge to bring your changes in. If both branches changed the same lines, Git pauses and asks you to resolve a merge conflict manually — a normal part of collaboration, not a failure.
Why bother with branches for solo work? Because they keep main always working. If your experiment fails, you simply delete the branch and nothing breaks. This habit becomes non-negotiable once you join a team.
Connecting Git to GitHub: Push and Clone
So far everything lives on your computer. To back it up and share it, you connect your local repo to a GitHub repository. First, create a free account at GitHub.com and create a new empty repository through the website.
GitHub will give you a URL. Link your local project to it and upload your commits:
# Connect your local repo to the remote GitHub repo
git remote add origin https://github.com/your-username/my-first-repo.git

# Push your main branch to GitHub and set it as the default upstream
git push -u origin main
The word origin is just a nickname for the remote URL so you don’t type the full address every time. The -u flag links your local main to the remote main, so future uploads only need git push. Your code is now safely on GitHub and visible to anyone you share it with.
To work on an existing GitHub project — yours or someone else’s — you clone it, which downloads the entire repository with its full history:
# Download a complete copy of a remote repository
git clone https://github.com/some-user/some-project.git
To pull down changes others have pushed since your last download, use git pull. A reliable habit is to pull before you start working each day, so you’re always building on the latest version.
A Typical Git and GitHub Workflow
Now let’s tie it all together into the loop you’ll repeat thousands of times in your career. This is the everyday rhythm of professional development:
- Pull the latest changes:
git pull origin main - Create a feature branch:
git switch -c feature-name - Write code and stage changes:
git add . - Commit with a clear message:
git commit -m "Describe the change" - Push the branch to GitHub:
git push -u origin feature-name - Open a pull request on GitHub to propose merging your branch
- Get a teammate’s review, then merge it into
main
A pull request (PR) is GitHub’s way of saying “I’d like to merge my branch into yours — please review it first.” It’s where code review, discussion, and automated testing happen before changes reach the main codebase. Pull requests are the heart of collaboration on GitHub, and understanding them separates hobbyists from professionals.
Common Git Mistakes to Avoid
Even experienced developers stumble on these. Knowing them in advance saves hours of frustration:
- Committing secrets: Never commit passwords, API keys, or
.envfiles. Use a .gitignore file to exclude them. Once a secret is pushed, assume it’s compromised even after deletion. - Giant, vague commits: A commit titled “fixed stuff” with 40 changed files is impossible to review or revert cleanly. Commit small, logical chunks with descriptive messages.
- Working directly on main: Skipping branches means a broken experiment breaks the stable code everyone depends on. Branch for every feature.
- Forgetting to pull: Starting work on stale code leads to painful merge conflicts. Pull before you push.
- Fearing the terminal: Many beginners memorize commands without understanding them. Run
git statusoften — it tells you exactly where you stand.
The good news is that Git is remarkably forgiving. Almost any mistake short of force-deleting history can be undone, which is precisely why version control exists in the first place.
Frequently Asked Questions About Git and GitHub
Do I need to learn Git before GitHub?
Yes. Git is the underlying technology, and GitHub is a service built on top of it. Once you understand core Git commands like commit, branch, and merge, GitHub’s interface becomes intuitive because it simply visualizes those same concepts in the browser.
Is GitHub free to use?
GitHub offers a generous free tier that includes unlimited public and private repositories for individuals and small teams. Paid plans add advanced features like extra automation minutes and enterprise security controls, but beginners and most professionals never need to pay.
What is the difference between git pull and git fetch?
git fetch downloads new changes from the remote but doesn’t apply them to your working files, letting you review first. git pull does a fetch and then immediately merges those changes into your current branch. Pull is the convenient shortcut; fetch gives you more control.
How do I undo my last commit?
To undo the last commit while keeping your changes, run git reset --soft HEAD~1. This rewinds the commit but leaves your edited files staged, so you can fix the message or content and commit again. Avoid --hard unless you genuinely want to discard the changes.
What is a merge conflict and should I be worried?
A merge conflict happens when two branches change the same lines of a file, and Git can’t decide which version to keep. It’s completely normal, not an error. Git marks the conflicting sections in the file, and you simply edit it to keep the correct code, then commit the resolution.
Can I use Git for non-code files?
Absolutely. Git tracks any text-based files well — documentation, configuration, even writing projects and academic papers. It handles binary files like images too, though it shines brightest with text where it can show you exactly which lines changed.
Conclusion: Your Version Control Journey Starts Now
You’ve covered the full foundation of Git and GitHub: what version control is, how Git and GitHub differ, and the everyday commands that move code from your editor to the cloud. From git init and git commit to branching, pushing, and opening pull requests, you now have a complete mental model of how modern software teams collaborate.
The single best way to make these concepts stick is to use them. Create a repository today, even for something small like notes or a practice project, and commit your work as you go. Within a week, the commands that feel awkward now will become second nature, and you’ll wonder how you ever coded without version control.
Mastering Git and GitHub isn’t just a technical skill — it’s the shared language of every development team you’ll ever join. Keep practicing, stay curious about commands like rebase and stash as you grow, and you’ll be collaborating like a seasoned developer in no time.