
The screen command is one of the most powerful tools in a Linux administrator’s arsenal, allowing you to create, manage, and switch between multiple terminal sessions within a single SSH connection or local terminal. Whether you’re managing remote servers, running long processes, or simply need better terminal organization, screen provides the flexibility and persistence you need.
What is the screen Command?
Screen is a terminal multiplexer that enables you to:
- Run multiple terminal sessions simultaneously
- Detach from sessions while keeping processes running
- Reattach to sessions from different locations
- Share terminal sessions with other users
- Maintain persistent connections even after network disconnections
Installing screen
Most Linux distributions include screen by default. If it’s not installed, you can install it using your package manager:
# Ubuntu/Debian
sudo apt update && sudo apt install screen

# CentOS/RHEL/Fedora
sudo yum install screen
# or for newer versions
sudo dnf install screen

# Arch Linux
sudo pacman -S screen
Basic screen Syntax
screen [options] [command [args]]Starting and Managing screen Sessions
Starting a New Session
To start a new screen session, simply type:
screenThis opens a new terminal session. You’ll see a brief copyright notice, then press Space or Enter to continue.
Starting a Named Session
For better organization, create named sessions:
screen -S session_nameExample:
screen -S webserver
screen -S database_backup
screen -S monitoring
Detaching from a Session
To detach from a screen session while keeping it running:
- Press Ctrl + A, then D
You’ll see output like:
[detached from 1234.pts-0.hostname]Essential screen Key Combinations
All screen commands start with the escape sequence Ctrl + A. Here are the most important key combinations:
| Key Combination | Action |
|---|---|
Ctrl + A, D |
Detach from session |
Ctrl + A, C |
Create new window |
Ctrl + A, N |
Next window |
Ctrl + A, P |
Previous window |
Ctrl + A, " |
List all windows |
Ctrl + A, K |
Kill current window |
Ctrl + A, ? |
Help menu |
Listing and Reattaching to Sessions
List Active Sessions
screen -lsExample Output:
There are screens on:
    1234.webserver    (Detached)
    5678.database_backup    (Detached)
    9012.pts-0.hostname    (Detached)
3 Sockets in /var/run/screen/S-username.
Reattaching to Sessions
To reattach to a specific session:
# Reattach by session ID
screen -r 1234

# Reattach by session name
screen -r webserver

# Force reattach (if session appears attached elsewhere)
screen -dr webserver
Advanced screen Features
Window Management
Create multiple windows within a single screen session:
# Start screen session
screen -S multiwindow

# Inside screen:
# Ctrl + A, C (creates new window)
# Ctrl + A, " (lists windows)
# Ctrl + A, 0-9 (switch to window by number)
Naming Windows
Give descriptive names to windows:
# Ctrl + A, A (rename current window)
# Type new name and press Enter
Splitting Windows
Split your screen horizontally or vertically:
# Horizontal split
Ctrl + A, S

# Vertical split (newer versions)
Ctrl + A, |

# Switch between regions
Ctrl + A, Tab

# Remove split
Ctrl + A, X
Practical Examples and Use Cases
Example 1: Long-Running Process
Running a backup script that takes hours to complete:
# Start named screen session
screen -S backup

# Run your long process
./backup_database.sh

# Detach with Ctrl + A, D
# Later, reattach to check progress
screen -r backup
Example 2: Remote Server Management
Managing multiple services on a remote server:
# SSH to server and start screen
ssh [email protected]
screen -S server_management

# Create windows for different tasks
# Ctrl + A, C (new window for logs)
tail -f /var/log/apache2/access.log

# Ctrl + A, C (new window for monitoring)
htop

# Ctrl + A, C (new window for maintenance)
# Run maintenance commands
Example 3: Development Environment
Setting up a development workspace:
# Start development session
screen -S development

# Window 1: Code editor
vim project.py

# Ctrl + A, C - Window 2: Testing
python -m pytest tests/

# Ctrl + A, C - Window 3: Server
python manage.py runserver

# Ctrl + A, C - Window 4: Database
mysql -u root -p
Common screen Command Options
| Option | Description |
|---|---|
-S name |
Start session with specific name |
-r |
Reattach to session |
-ls |
List active sessions |
-d |
Detach session |
-x |
Attach to session (multi-user) |
-wipe |
Remove dead sessions |
Configuration and Customization
Creating a .screenrc File
Customize screen behavior by creating a ~/.screenrc file:
# ~/.screenrc
# Disable startup message
startup_message off

# Increase scrollback buffer
defscrollback 10000

# Status line at bottom
hardstatus alwayslastline
hardstatus string '%{= kG}[ %{G}%H %{g}][%= %{=kw}%?%-Lw%?%{r}(%{W}%n*%f%t%?(%u)%?%{r})%{w}%?%+Lw%?%?%= %{g}][%{B}%Y-%m-%d %{W}%c %{g}]'

# Enable mouse scrolling
termcapinfo xterm* ti@:te@

# Bind F1 and F2 to switch between windows
bindkey -k k1 prev
bindkey -k k2 next
Troubleshooting Common Issues
Session Shows as Attached When It’s Not
If a session appears attached but you can’t access it:
# Force detach and reattach
screen -dr session_name
Clearing Dead Sessions
Remove sessions that are no longer active:
screen -wipeSession Not Found
If you can’t find your session:
# List all sessions for all users (if you have permission)
screen -ls

# Check if running under different user
sudo screen -ls
screen vs tmux: Quick Comparison
While both are terminal multiplexers, here’s a quick comparison:
- screen: Older, more universal, simpler configuration
- tmux: More modern, better default features, more active development
- Learning curve: screen has simpler basics, tmux has more intuitive defaults
- Availability: screen is more likely to be pre-installed
Best Practices
- Always use named sessions for important work
- Detach properly using Ctrl + A, D instead of closing terminal
- Regular cleanup of old sessions with
screen -wipe - Use descriptive window names for complex setups
- Create a .screenrc for consistent behavior across systems
Security Considerations
When using screen in multi-user environments:
- Sessions are user-specific by default
- Avoid running sensitive commands in shared sessions
- Use proper file permissions on .screenrc
- Be cautious with screen sharing features in production
Conclusion
The screen command is an indispensable tool for Linux users who work with multiple terminal sessions, manage remote servers, or run long-running processes. Its ability to maintain persistent sessions across network disconnections makes it particularly valuable for system administrators and developers working on remote systems.
By mastering screen’s key combinations, understanding session management, and utilizing its advanced features like window splitting and customization, you can significantly improve your productivity and workflow efficiency. Whether you’re a beginner learning basic session management or an advanced user setting up complex multi-window environments, screen provides the flexibility and reliability you need for effective terminal session management.
Start with simple detach and reattach operations, gradually incorporating more advanced features as your needs grow. With practice, screen will become second nature, making you a more efficient and confident Linux user.
Related Posts
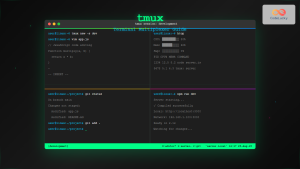
tmux Command Linux: Complete Terminal Multiplexer Guide with Examples
The tmux command is a powerful terminal multiplexer that allows you to create multiple terminal sessions, split windows, and manage...
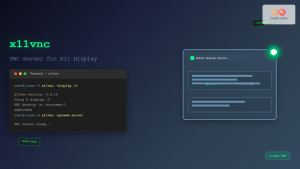
x11vnc Command Linux: Complete Guide to Remote Desktop Access via VNC Server
The x11vnc command is a powerful Linux utility that allows you to share your existing X11 desktop session via VNC...
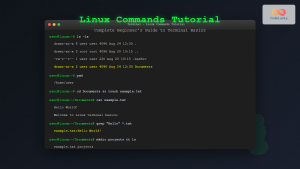
Linux Commands Tutorial: Complete Beginner’s Guide to Terminal Basics
The Linux terminal is a powerful command-line interface that gives you direct control over your operating system. While it might...
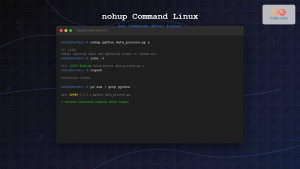
nohup Command Linux: Run Commands After Logout and Keep Processes Running
The nohup command is one of the most essential tools for Linux system administrators and developers who need to run...
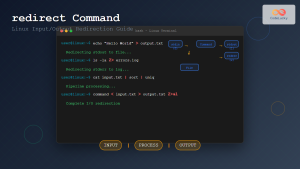
redirect Command Linux: Complete Input Output Redirection Guide
Linux redirection is a powerful feature that allows you to control where command input comes from and where output goes....
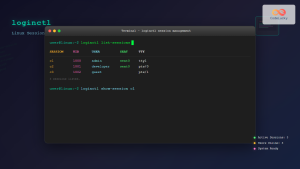
loginctl Command Linux: Master Session Management with Practical Examples
The loginctl command is a powerful systemd utility that allows system administrators to introspect and control the systemd login manager...
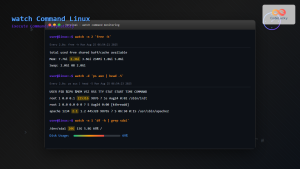
watch Command Linux: Monitor and Execute Commands Repeatedly in Real-Time
The watch command is one of the most powerful utilities in Linux for executing commands repeatedly at regular intervals and...
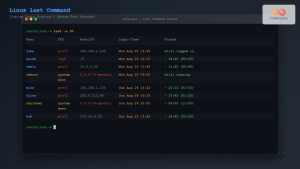
last Command Linux: Display Login History and System Boot Records
The last command is an essential Linux utility that displays a chronological list of user logins, system boots, and shutdowns...
jobs Command Linux: Complete Guide to Managing Background Jobs in Terminal
The jobs command is an essential tool for Linux users who need to manage multiple processes running in the background....
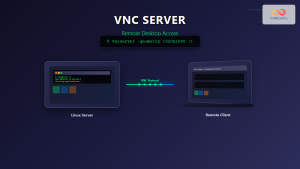
vncserver Command Linux: Complete Guide to VNC Server Setup and Management
The vncserver command is a powerful tool in Linux that enables remote desktop access by starting a Virtual Network Computing...
w Command Linux: Complete Guide to Monitor Active Users and System Activity
The w command is one of the most essential system monitoring tools in Linux, providing administrators and users with real-time...
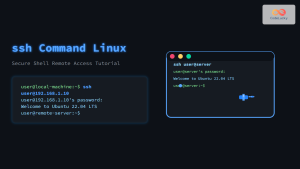
ssh Command Linux: Secure Shell Remote Access Tutorial with Examples
The ssh command in Linux, short for Secure Shell, is one of the most essential tools for system administrators, developers,...


