
In Linux system administration, maintaining and monitoring disk usage is critical. Without proper checks, uncontrolled disk consumption can lead to performance degradation and even system downtime. The quotacheck command plays a vital role in such scenarios by scanning filesystems for disk usage and updating the quota records. If you are a system administrator managing multi-user environments or shared hosting servers, understanding quotacheck is essential.
What is the quotacheck Command in Linux?
The quotacheck command is used in Linux to scan filesystems for disk usage, check consistency of quota files, and create or update the quota databases. These databases are then used by quota tools like edquota and repquota to enforce user and group disk usage restrictions. Essentially, it ensures that disk quota information matches the actual file usage on disk.
Basic Syntax
quotacheck [options] filesystem
Common filesystems: These are usually mentioned in /etc/fstab, such as /home, /, or partitions like /dev/sda1.
Key Options of quotacheck
-a: Check all filesystems listed in/etc/fstabwith quota enabled.-u: Check user quotas (default option).-g: Check group quotas.-c: Create new quota files.-v: Verbose mode, shows detailed information during checks.-f: Force check even if filesystem is marked as checked.
Practical Examples of quotacheck Command
1. Check All User Quotas on All Filesystems
sudo quotacheck -avug
Explanation:
-a→ all filesystems-v→ verbose-u→ user quotas-g→ group quotas
Sample Output:
Checking quotas for filesystem /home [/dev/sda3]: done
Checking group quotas for /home [/dev/sda3]: done
2. Check a Specific Filesystem
sudo quotacheck -v /dev/sda3
This will scan /dev/sda3 and update its quota database. Ideal for single partition checks.
3. Create New Quota Files
sudo quotacheck -cug /home
This will create fresh quota files (aquota.user and aquota.group) inside the /home partition if they don’t already exist.
4. Force Check on a Mounted Filesystem
sudo quotacheck -fug /home
If the system warns that quota files are already synced, the -f option forces a re-scan.
Interactive Example: Checking and Viewing Quotas
Typically, after running quotacheck, admins verify quotas using repquota:
sudo repquota -a
Sample Output:
*** Report for user quotas on /dev/sda3 (/home) ***
Block grace time: 7days; Inode grace time: 7days
                          Block limits                File limits
User        used   soft   hard    grace    used   soft   hard  grace
----------------------------------------------------------------------
alice     510000  500000  600000             50      0      0
bob       120000  150000  200000              8      0      0
When Should You Use quotacheck?
Running quotacheck is essential in these situations:
- After enabling quotas on a new filesystem.
- After system crashes to sync quota records with real usage.
- When usage reports don’t match actual disk consumption.
- For scheduled maintenance (added to cron jobs).
Best Practices
- Always run
quotacheckasrootor withsudo. - Avoid running on live, busy filesystems unless required, as it can cause performance lags.
- Use
-ato scan all filesystems at once in automated scripts. - Combine with monitoring tools for proactive disk quota management.
Conclusion
The quotacheck command is a powerful tool for Linux system administrators to maintain disk quota integrity. By scanning filesystems and syncing quota records, it ensures that users and groups adhere to assigned limits, protecting systems from overuse of resources. Whether you are managing shared hosting servers, corporate environments, or cloud-based Linux systems, mastering quotacheck will make your administration tasks more efficient and secure.
Related Posts
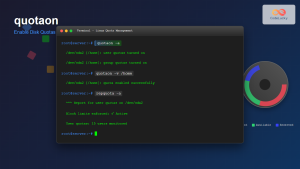
quotaon Command Linux: Enable and Manage Disk Quotas Effectively
The quotaon command is a powerful Linux utility that enables disk quota enforcement on file systems. It allows system administrators...
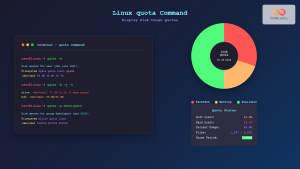
quota Command Linux: Complete Guide to Display and Manage Disk Usage Quotas
The quota command is an essential Linux system administration tool that displays disk usage and quota information for users and...
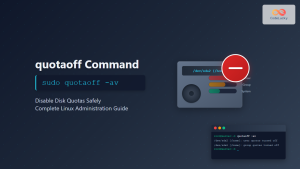
quotaoff Command Linux: Complete Guide to Disable Disk Quotas Safely
The quotaoff command is a crucial Linux system administration tool used to disable disk quotas on file systems. When you...
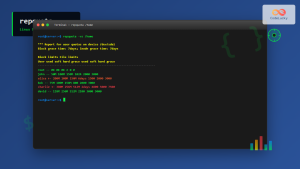
repquota Command Linux: Complete Guide to Disk Quota Reporting and Management
The repquota command is an essential Linux system administration tool used to report disk quota usage for users and groups...
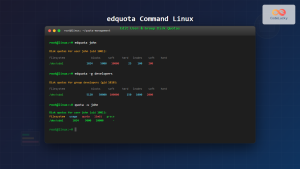
edquota Command Linux: Complete Guide to Manage User Disk Quotas
The edquota command is a powerful Linux system administration tool that allows you to edit user and group disk quotas...
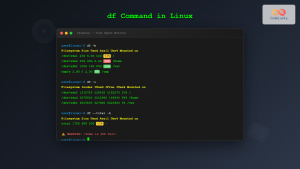
df Command in Linux: Complete Guide to Check Disk Space Usage
The df command is one of the most essential tools in a Linux system administrator's toolkit. Standing for "disk free,"...

du Command Linux: Display Directory Size and Disk Usage Explained with Examples
The du (disk usage) command in Linux is a powerful tool that allows users to measure directory size, analyze disk...

stat Command Linux: Complete Guide to Display File and Filesystem Status Information
The stat command is a powerful Linux utility that displays detailed information about files and filesystems. Unlike basic commands like...

File System Types: FAT32, NTFS, ext4 and Modern Linux Filesystems Explained
Understanding File Systems: The Foundation of Data Storage A file system is the method and data structure that an operating...

free Command in Linux: Monitor Memory Usage and Swap Space Efficiently
The free command is one of the most essential utilities in Linux for monitoring system memory usage and swap space....
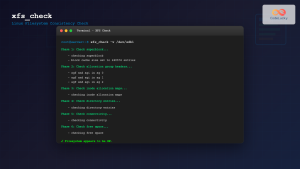
xfs_check Command Linux: Complete Guide to XFS Filesystem Consistency Verification
The xfs_check command is a crucial system administration tool in Linux for verifying the consistency and integrity of XFS filesystems....

tune2fs Command Linux: Complete Guide to Ext2/3/4 Filesystem Tuning
The tune2fs command is a powerful Linux utility that allows system administrators to modify and tune various parameters of ext2,...


