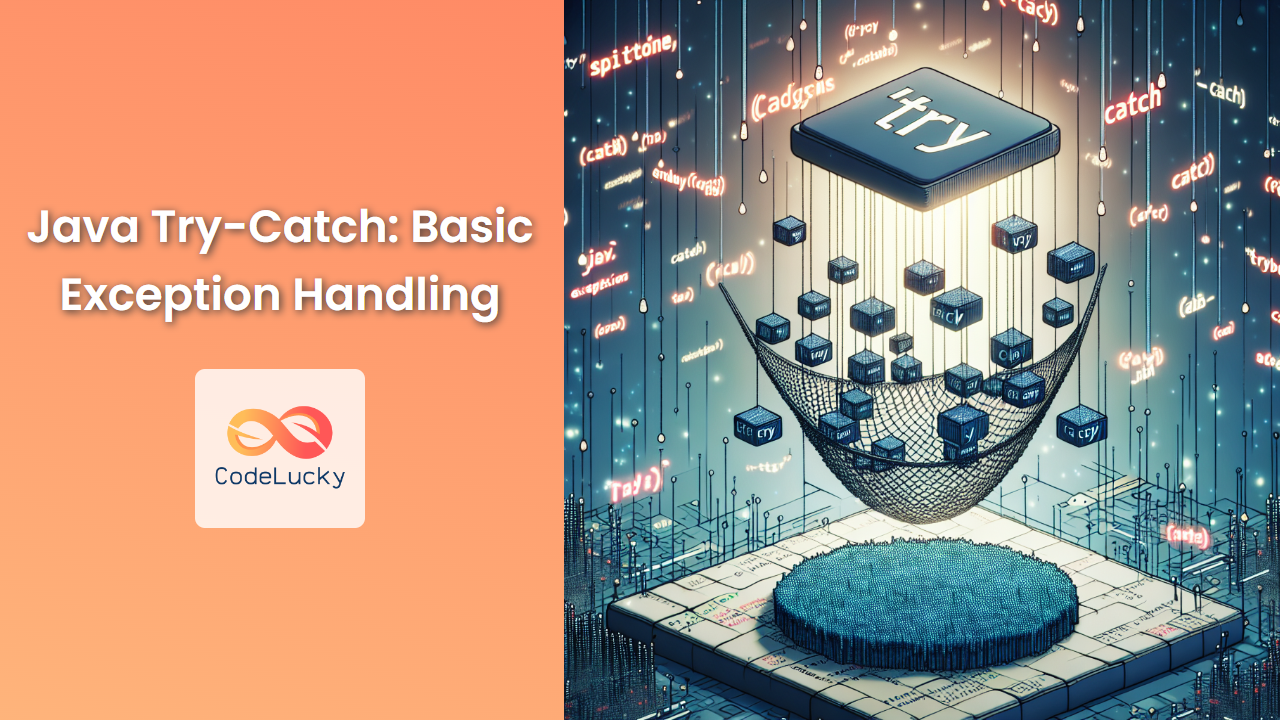
Java, being a robust and secure programming language, provides a powerful mechanism for handling runtime errors: exception handling. At the heart of this mechanism lies the try-catch block, a fundamental construct that allows developers to gracefully manage unexpected situations in their code. In this comprehensive guide, we'll dive deep into the world of Java try-catch blocks, exploring their syntax, usage, and best practices.
Understanding Exceptions in Java
Before we delve into try-catch blocks, it's crucial to understand what exceptions are in Java. An exception is an event that occurs during the execution of a program, disrupting the normal flow of instructions. These can be caused by various factors, such as:
- 🔢 Arithmetic errors (e.g., division by zero)
- 📁 File I/O errors
- 🔍 Array index out of bounds
- 🧵 Thread interruptions
- 🔗 Network connection issues
Java categorizes exceptions into two main types:
-
Checked Exceptions: These are exceptions that the compiler forces you to handle. They are typically external factors that your program can't control.
-
Unchecked Exceptions: These are exceptions that the compiler doesn't force you to handle. They often result from programming errors.
The Anatomy of a Try-Catch Block
The try-catch block is the primary construct for handling exceptions in Java. Here's its basic structure:
try {
    // Code that might throw an exception
} catch (ExceptionType e) {
    // Code to handle the exception
}
Let's break this down:
- The
tryblock contains the code that might throw an exception. - The
catchblock specifies the type of exception it can handle and contains the code to execute if that exception occurs.
A Simple Try-Catch Example
Let's start with a basic example to illustrate how try-catch works:
public class DivisionExample {
    public static void main(String[] args) {
        try {
            int result = 10 / 0;  // This will throw an ArithmeticException
            System.out.println("Result: " + result);
        } catch (ArithmeticException e) {
            System.out.println("Error: Cannot divide by zero!");
        }
        System.out.println("Program continues...");
    }
}
Output:
Error: Cannot divide by zero!
Program continues...
In this example:
- We attempt to divide 10 by 0, which throws an
ArithmeticException. - The catch block catches this exception and prints an error message.
- The program continues to execute after the try-catch block.
Multiple Catch Blocks
Sometimes, a piece of code can throw multiple types of exceptions. In such cases, we can use multiple catch blocks:
public class MultipleExceptionsExample {
    public static void main(String[] args) {
        try {
            int[] numbers = {1, 2, 3};
            System.out.println(numbers[10]);  // This will throw an ArrayIndexOutOfBoundsException
            int result = 10 / 0;  // This will throw an ArithmeticException (but won't be reached)
        } catch (ArrayIndexOutOfBoundsException e) {
            System.out.println("Error: Array index out of bounds!");
        } catch (ArithmeticException e) {
            System.out.println("Error: Cannot divide by zero!");
        }
        System.out.println("Program continues...");
    }
}
Output:
Error: Array index out of bounds!
Program continues...
In this example:
- We have two potential exceptions:
ArrayIndexOutOfBoundsExceptionandArithmeticException. - The first exception that occurs (array index out of bounds) is caught, and its corresponding catch block is executed.
- The second exception (division by zero) is never reached because the program flow is interrupted by the first exception.
The Finally Block
The finally block is an optional addition to the try-catch structure. It contains code that will be executed regardless of whether an exception occurs or not:
public class FinallyExample {
    public static void main(String[] args) {
        try {
            int result = 10 / 2;
            System.out.println("Result: " + result);
        } catch (ArithmeticException e) {
            System.out.println("Error: Cannot divide by zero!");
        } finally {
            System.out.println("This will always be executed!");
        }
    }
}
Output:
Result: 5
This will always be executed!
The finally block is particularly useful for cleanup operations, such as closing file streams or database connections.
Catching Multiple Exceptions in a Single Block
Starting from Java 7, you can catch multiple exceptions in a single catch block using the pipe (|) operator:
public class MultiCatchExample {
    public static void main(String[] args) {
        try {
            String str = null;
            System.out.println(str.length());  // This will throw a NullPointerException
            int[] arr = new int[5];
            arr[10] = 50;  // This would throw an ArrayIndexOutOfBoundsException (if reached)
        } catch (NullPointerException | ArrayIndexOutOfBoundsException e) {
            System.out.println("Caught an exception: " + e.getClass().getSimpleName());
        }
    }
}
Output:
Caught an exception: NullPointerException
This approach can make your code more concise when you want to handle multiple exceptions in the same way.
The Try-with-Resources Statement
Introduced in Java 7, the try-with-resources statement is a powerful feature for handling resources that need to be closed after use, such as file streams or database connections:
import java.io.BufferedReader;
import java.io.FileReader;
import java.io.IOException;

public class TryWithResourcesExample {
    public static void main(String[] args) {
        try (BufferedReader br = new BufferedReader(new FileReader("test.txt"))) {
            String line;
            while ((line = br.readLine()) != null) {
                System.out.println(line);
            }
        } catch (IOException e) {
            System.out.println("Error reading the file: " + e.getMessage());
        }
    }
}
In this example, the BufferedReader is automatically closed when the try block is exited, whether normally or due to an exception. This eliminates the need for explicitly closing the resource in a finally block.
Best Practices for Exception Handling
-
🎯 Be Specific: Catch the most specific exceptions possible. Avoid catching
Exceptionunless you have a good reason to catch all exceptions. -
📝 Log Exceptions: Instead of just printing exception messages, consider using a logging framework to record exceptions for better debugging.
-
🔄 Don't Catch and Do Nothing: Avoid empty catch blocks. At the very least, log the exception.
-
🧹 Clean Up Resources: Always clean up resources in a finally block or use try-with-resources for automatic resource management.
-
🏭 Create Custom Exceptions: For domain-specific errors, create your own exception classes that extend from appropriate Java exception classes.
-
🔍 Provide Meaningful Error Messages: When throwing exceptions, include informative error messages that will help in diagnosing the problem.
Creating Custom Exceptions
Sometimes, the built-in Java exceptions don't quite fit your specific use case. In such situations, you can create your own custom exceptions:
public class InsufficientFundsException extends Exception {
    private double amount;

    public InsufficientFundsException(double amount) {
        super("Insufficient funds: You need " + amount + " more to complete this transaction.");
        this.amount = amount;
    }

    public double getAmount() {
        return amount;
    }
}

public class BankAccount {
    private double balance;

    public void withdraw(double amount) throws InsufficientFundsException {
        if (amount > balance) {
            throw new InsufficientFundsException(amount - balance);
        }
        balance -= amount;
    }
}

public class CustomExceptionExample {
    public static void main(String[] args) {
        BankAccount account = new BankAccount();
        try {
            account.withdraw(100);
        } catch (InsufficientFundsException e) {
            System.out.println(e.getMessage());
            System.out.println("You need $" + e.getAmount() + " more.");
        }
    }
}
Output:
Insufficient funds: You need 100.0 more to complete this transaction.
You need $100.0 more.
This custom exception provides more specific information about the nature of the error, enhancing the ability to handle and report on domain-specific issues.
The Importance of Exception Handling
Proper exception handling is crucial for several reasons:
-
🛡️ Robustness: It makes your program more robust by handling unexpected situations gracefully.
-
🔍 Debugging: Well-handled exceptions provide valuable information for debugging.
-
👤 User Experience: It allows you to present user-friendly error messages instead of cryptic stack traces.
-
🔄 Program Flow: It helps maintain the normal flow of the program even when errors occur.
-
🧹 Resource Management: It ensures that resources are properly closed and cleaned up, even in error situations.
Conclusion
Exception handling with try-catch blocks is a fundamental skill for Java developers. It allows you to write more robust, reliable, and user-friendly applications. By understanding the nuances of try-catch blocks, multiple catch statements, the finally block, and try-with-resources, you can effectively manage errors and unexpected situations in your Java programs.
Remember, the goal of exception handling is not just to prevent your program from crashing, but to gracefully manage unexpected situations, provide meaningful feedback, and ensure that your application can recover or shut down safely when errors occur.
As you continue to develop in Java, you'll encounter more complex scenarios where exception handling plays a crucial role. Keep practicing, and soon, writing effective try-catch blocks will become second nature, contributing to the overall quality and reliability of your Java applications.
- Understanding Exceptions in Java
- The Anatomy of a Try-Catch Block
- A Simple Try-Catch Example
- Multiple Catch Blocks
- The Finally Block
- Catching Multiple Exceptions in a Single Block
- The Try-with-Resources Statement
- Best Practices for Exception Handling
- Creating Custom Exceptions
- The Importance of Exception Handling
- Conclusion

