
The gparted command in Linux provides access to one of the most powerful and user-friendly graphical partition editors available for Unix-like systems. GParted (GNOME Partition Editor) combines the flexibility of command-line partition tools with an intuitive graphical interface, making disk management accessible to both beginners and advanced users.
What is GParted?
GParted is a free, open-source partition editor that allows you to create, delete, resize, move, check, and copy partitions without data loss. Built on the GTK+ toolkit, it serves as a graphical frontend for various partition manipulation tools including parted, e2fsprogs, ntfsprogs, and dosfstools.
Key Features of GParted
- Multi-filesystem support: ext2, ext3, ext4, NTFS, FAT16, FAT32, ReiserFS, XFS, JFS, and more
- Non-destructive operations: Resize partitions without data loss
- Live environment support: Can be run from bootable media
- Visual interface: Clear graphical representation of disk layout
- Undo/Redo functionality: Queue operations before execution
Installing GParted
GParted installation varies depending on your Linux distribution. Here’s how to install it on popular distributions:
Ubuntu/Debian
sudo apt update
sudo apt install gparted
CentOS/RHEL/Fedora
# For CentOS/RHEL
sudo yum install gparted

# For Fedora
sudo dnf install gparted
Arch Linux
sudo pacman -S gpartedopenSUSE
sudo zypper install gpartedLaunching GParted
GParted requires root privileges to access and modify disk partitions. You can launch it in several ways:
From Terminal
sudo gpartedFrom Desktop Environment
Navigate to Applications → System Tools → GParted, or search for “GParted” in your application launcher.
Using pkexec (Recommended)
pkexec gpartedThis method provides better integration with modern desktop environments and security frameworks.
GParted Interface Overview
When you launch GParted, you’ll see a clean interface with the following components:
- Device dropdown: Select which storage device to manage
- Partition table: Visual representation of partitions
- Partition list: Detailed information about each partition
- Toolbar: Quick access to common operations
- Status bar: Shows pending operations and disk information
Basic Partition Operations
Creating a New Partition
To create a new partition on unallocated space:
- Select the unallocated space in the partition table
- Right-click and choose “New” or click the “New” button
- Configure the partition settings:
- File system: Choose from ext4, NTFS, FAT32, etc.
- Size: Set partition size in MB or GB
- Label: Optional partition label
- Click “Add” to queue the operation
Resizing Partitions
GParted makes partition resizing straightforward:
- Right-click on the partition you want to resize
- Select “Resize/Move”
- Drag the partition boundaries or enter exact values
- Click “Resize/Move” to queue the operation
Moving Partitions
Moving partitions can help optimize disk layout:
- Select the partition to move
- Choose “Resize/Move” from the context menu
- Drag the entire partition to a new location
- Confirm the operation
Deleting Partitions
To remove a partition:
- Right-click on the target partition
- Select “Delete”
- The space becomes unallocated and available for other operations
Advanced Features
File System Operations
GParted supports various file system operations:
- Format: Change partition file system type
- Check: Scan for and repair file system errors
- Label: Add or modify partition labels
- UUID: Generate new UUID for the partition
Copying Partitions
To copy a partition:
- Right-click the source partition and select “Copy”
- Select unallocated space of sufficient size
- Right-click and choose “Paste”
- Adjust the copied partition size if needed
Creating Partition Tables
For new disks, you may need to create a partition table:
- Go to Device → Create Partition Table
- Choose between:
- msdos: Traditional MBR (Master Boot Record)
- gpt: GUID Partition Table (recommended for modern systems)
- Click “Apply” to create the partition table
Working with Different File Systems
Linux File Systems
- ext4: Default for most Linux distributions, supports journaling
- ext3: Older version with journaling support
- XFS: High-performance file system for large files
- Btrfs: Modern file system with snapshot capabilities
Windows File Systems
- NTFS: Modern Windows file system with large file support
- FAT32: Compatible with older systems, 4GB file size limit
- exFAT: Extended File Allocation Table for removable media
Practical Examples
Example 1: Dual Boot Setup
Creating partitions for a Windows/Linux dual boot system:
- Create a 100GB NTFS partition for Windows
- Create a 50GB ext4 partition for Linux root (/)
- Create a 4GB linux-swap partition
- Create a remaining space ext4 partition for home (/home)
Example 2: Expanding Root Partition
When your root partition runs out of space:
- Boot from GParted Live CD/USB
- Delete the swap partition (if adjacent to root)
- Resize the root partition to use the freed space
- Recreate the swap partition in remaining space
Command Line Integration
While GParted is graphical, you can integrate it with command-line workflows:
Launching with Specific Device
sudo gparted /dev/sdbChecking Device Information Before GParted
# List all block devices
lsblk

# Show detailed partition information
sudo fdisk -l

# Display file system information
df -h
Safety Best Practices
Before Making Changes
- Backup important data: Always create backups before partition operations
- Unmount partitions: Ensure target partitions are not mounted
- Check disk health: Run disk diagnostics to ensure hardware integrity
- Plan operations: Think through the sequence of operations needed
During Operations
- Review queued operations: Double-check all pending operations before applying
- Ensure stable power: Use UPS if available for critical operations
- Monitor progress: Don’t interrupt operations in progress
Troubleshooting Common Issues
Permission Denied Errors
If GParted fails to start due to permission issues:
# Try using pkexec instead of sudo
pkexec gparted

# Or ensure proper sudo configuration
sudo -E gparted
Partition Not Recognized
When partitions don’t appear correctly:
- Refresh the device list: View → Refresh Devices
- Check if the disk is properly connected
- Verify the partition table isn’t corrupted
Operation Failed Errors
Common causes and solutions:
- Partition mounted: Unmount before operations
- Insufficient space: Ensure adequate free space for operations
- File system errors: Run file system check first
GParted Live CD/USB
For system partitions that can’t be modified while the OS is running, use GParted Live:
Creating GParted Live Media
- Download GParted Live ISO from the official website
- Create bootable USB using tools like Rufus or dd command
- Boot from the USB to access GParted without OS limitations
Benefits of Live Environment
- Modify system partitions safely
- Access locked or corrupted systems
- Work on multiple computers without installation
- Rescue data from failing systems
Performance Considerations
Operation Speed Factors
- Partition size: Larger partitions take longer to process
- Disk type: SSDs are faster than traditional HDDs
- File system: Some file systems resize faster than others
- Data density: Fuller partitions take longer to resize
Optimization Tips
- Defragment Windows partitions before resizing
- Clear temporary files to reduce data movement
- Use fastest available interface (SATA 3, USB 3.0, etc.)
- Close unnecessary applications during operations
Alternatives to GParted
While GParted is excellent, consider these alternatives for specific needs:
- KDE Partition Manager: KDE’s native partition editor
- parted: Command-line partition manipulation
- cfdisk: Curses-based fdisk alternative
- GNOME Disks: Simple disk management for GNOME
Conclusion
GParted stands as the gold standard for graphical partition management in Linux environments. Its combination of powerful features, intuitive interface, and robust safety mechanisms makes it an essential tool for system administrators, developers, and advanced users. Whether you’re setting up dual-boot systems, managing server storage, or recovering from disk issues, mastering GParted will significantly enhance your Linux system administration capabilities.
Remember that partition operations can be risky, so always maintain current backups and test procedures on non-critical systems first. With proper preparation and understanding of GParted’s capabilities, you can confidently manage disk partitions and optimize your storage layout for maximum efficiency and organization.
Related Posts
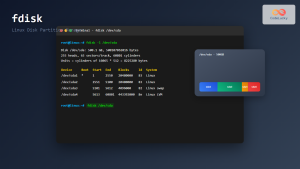
fdisk Command Linux: Complete Guide to Disk Partition Management
The fdisk command is one of the most powerful and essential tools for disk partition management in Linux systems. Whether...
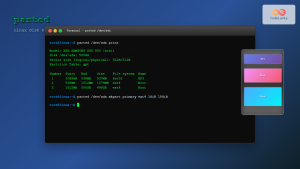
parted Command Linux: Complete Guide to Disk Partition Management
The parted command is a powerful disk partition manipulation program in Linux that allows you to create, resize, move, and...
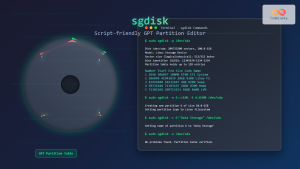
sgdisk Command Linux: Complete Guide to Script-Friendly GPT Partition Management
The sgdisk command is a powerful script-friendly alternative to the interactive gdisk utility for managing GPT (GUID Partition Table) partitions...
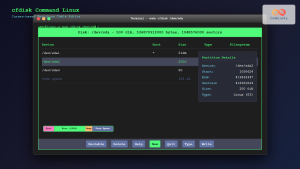
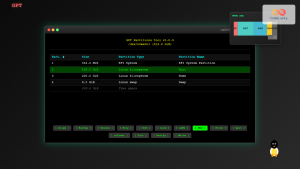
cfdisk Command Linux: Complete Guide to Curses-based Partition Management
The cfdisk command is a powerful, user-friendly partition table editor for Linux systems that provides a curses-based interface for managing...
cgdisk Command Linux: Complete Guide to Curses-Based GPT Partition Management
The cgdisk command is a powerful curses-based GPT (GUID Partition Table) partition editor for Linux systems. Unlike traditional command-line tools,...
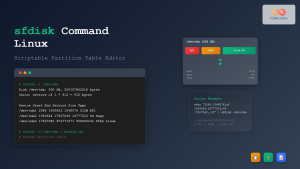
sfdisk Command Linux: Complete Guide to Scriptable Partition Table Editor
The sfdisk command is a powerful and scriptable partition table editor in Linux that provides advanced functionality for managing disk...
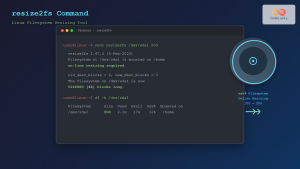
resize2fs Command Linux: Complete Guide to Resize Ext2/3/4 Filesystems Safely
The resize2fs command is a powerful Linux utility designed to resize ext2, ext3, and ext4 filesystems. Whether you need to...
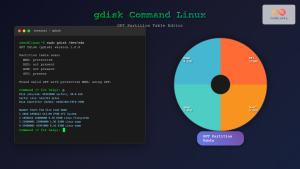
gdisk Command Linux: Complete Guide to GPT Partition Table Management
The gdisk command is a powerful GPT (GUID Partition Table) partition editor for Linux systems that provides advanced capabilities for...
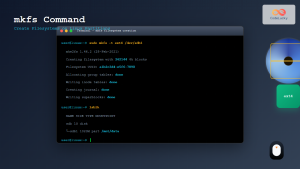
mkfs Command Linux: Complete Guide to Creating Filesystems on Partitions
The mkfs command in Linux is a fundamental tool for creating filesystems on disk partitions. Whether you're setting up a...
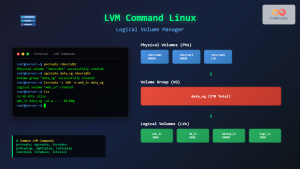
lvm Command Linux: Complete Guide to Logical Volume Manager Operations
The Logical Volume Manager (LVM) is a powerful disk management tool in Linux that provides flexible storage management by abstracting...
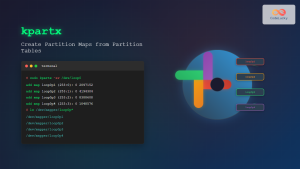
kpartx Command Linux: Create and Manage Partition Maps with Complete Examples
The kpartx command is a powerful Linux utility that creates device maps from partition tables, enabling you to access partitions...

Storage Virtualization: Complete Guide to Logical Volume Management in Linux
Storage virtualization through Logical Volume Management (LVM) represents one of the most powerful features in modern Linux systems, providing administrators...


