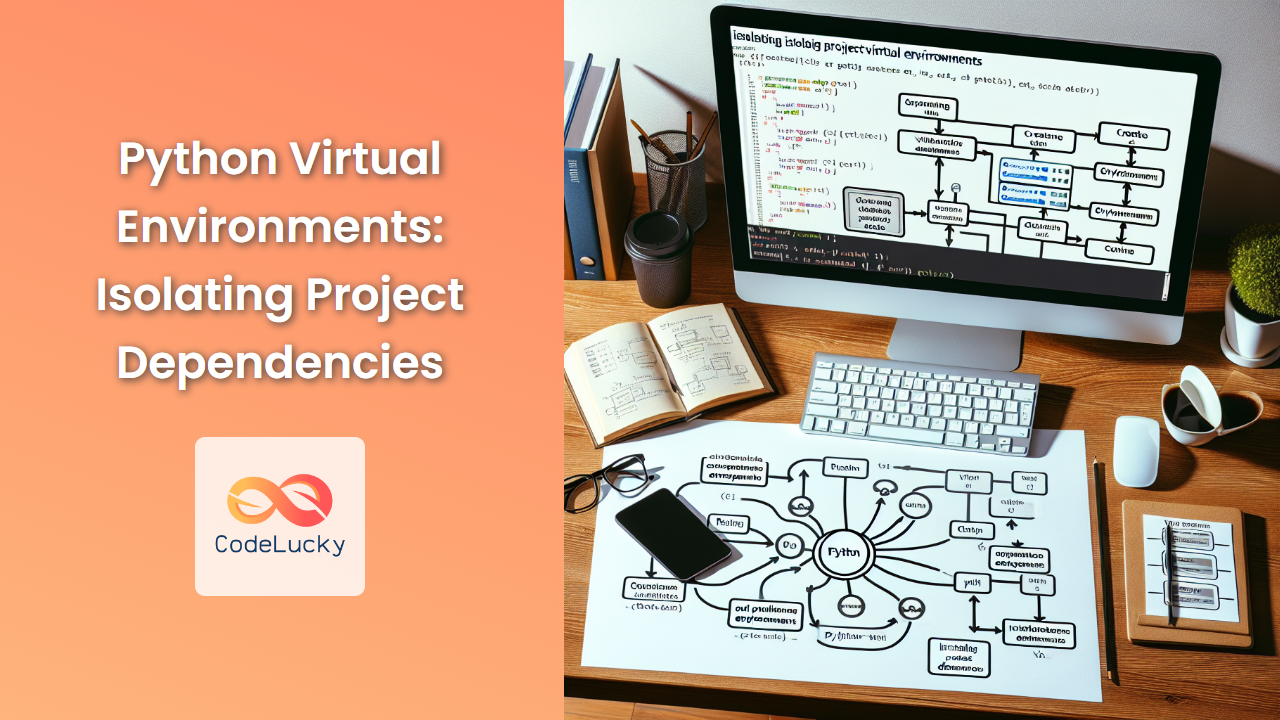
Python virtual environments are an essential tool for every Python developer. They provide a clean, isolated workspace for your projects, ensuring that each project's dependencies don't interfere with one another. In this comprehensive guide, we'll explore the ins and outs of Python virtual environments, from basic concepts to advanced techniques.
Understanding the Need for Virtual Environments
Imagine you're working on two different Python projects. Project A requires Django 2.2, while Project B needs Django 3.1. Without virtual environments, you'd have to constantly switch between these versions, risking compatibility issues and potential errors.
🔍 Fact: Virtual environments solve the "Project X depends on version 1.x, but Project Y needs 4.x" dilemma.
Virtual environments create isolated Python environments for each project, allowing you to:
- Install packages without affecting other projects
- Use different versions of the same package across projects
- Easily share your project's dependencies with others
Creating a Virtual Environment
Let's dive into creating our first virtual environment. We'll use the built-in venv module, which has been part of Python since version 3.3.
python -m venv myproject_env
This command creates a new directory called myproject_env containing a copy of the Python interpreter, the standard library, and various supporting files.
🔧 Pro Tip: Always name your virtual environment descriptively. For instance, use projectname_env to easily identify which project it belongs to.
Activating the Virtual Environment
After creating the virtual environment, you need to activate it. The activation process varies slightly depending on your operating system.
For Windows:
myproject_env\Scripts\activate
For macOS and Linux:
source myproject_env/bin/activate
Once activated, you'll notice your command prompt changes to indicate the active environment:
(myproject_env) C:\Users\YourName>
Installing Packages in the Virtual Environment
With your virtual environment activated, you can now install packages using pip without affecting your global Python installation.
Let's install Django as an example:
(myproject_env) $ pip install django
This command installs the latest version of Django only in your virtual environment.
🎯 Fact: Packages installed in a virtual environment are isolated from the global Python installation and other virtual environments.
Managing Dependencies with requirements.txt
As your project grows, you'll likely add more dependencies. It's crucial to keep track of these for reproducibility and collaboration. This is where requirements.txt comes in handy.
To generate a requirements.txt file:
(myproject_env) $ pip freeze > requirements.txt
This command creates a file listing all installed packages and their versions.
To install dependencies from a requirements.txt file in a new environment:
(myproject_env) $ pip install -r requirements.txt
Working with Multiple Python Versions
Sometimes, you might need to work with different Python versions for different projects. While venv uses the Python version it was invoked with, you can use tools like pyenv to manage multiple Python versions.
First, install pyenv (instructions vary by OS), then:
# Install Python 3.7.9
pyenv install 3.7.9

# Set local version for your project
pyenv local 3.7.9

# Create a virtual environment with this Python version
python -m venv myproject_env_py37
Now you have a virtual environment running Python 3.7.9, regardless of your system's global Python version.
Virtual Environments in IDEs
Most modern IDEs support virtual environments out of the box. Let's look at how to set up a virtual environment in PyCharm and Visual Studio Code.
PyCharm
- Go to File > Settings > Project > Python Interpreter
- Click the gear icon and select "Add"
- Choose "New environment" and select the base interpreter
- Click "OK" to create and activate the new environment
Visual Studio Code
- Open the command palette (Ctrl+Shift+P)
- Type "Python: Select Interpreter"
- Choose "+ Enter interpreter path"
- Navigate to your virtual environment's Python executable
🖥️ Fact: Using virtual environments in IDEs ensures consistent development environments across your team.
Advanced Virtual Environment Techniques
Using virtualenvwrapper
virtualenvwrapper is a set of extensions to the virtualenv tool, making it easier to create and manage virtual environments.
Install it with:
pip install virtualenvwrapper
On Unix-based systems, add these lines to your shell startup file:
export WORKON_HOME=$HOME/.virtualenvs
export PROJECT_HOME=$HOME/projects
source /usr/local/bin/virtualenvwrapper.sh
Now you can use commands like:
# Create a new virtual environment
mkvirtualenv myproject_env

# Switch to a virtual environment
workon myproject_env

# Deactivate the current environment
deactivate

# Delete a virtual environment
rmvirtualenv myproject_env
Creating Relocatable Virtual Environments
By default, virtual environments are tied to their creation path. To create a relocatable environment:
python -m venv --relocatable myproject_env
This allows you to move or copy the virtual environment to a different location or machine.
Best Practices for Virtual Environments
-
One Project, One Environment: Create a separate virtual environment for each project to avoid dependency conflicts.
-
Version Control: Include your
requirements.txtin version control, but exclude the virtual environment directory. -
Documentation: Document the steps to set up the virtual environment in your project's README file.
-
Consistent Naming: Use a consistent naming convention for your virtual environments across projects.
-
Regular Updates: Periodically update your virtual environment's packages to get the latest features and security fixes.
Troubleshooting Common Issues
"Command not found" after activation
If you encounter this error, ensure that the virtual environment's bin directory is in your PATH. You can add it manually:
export PATH="/path/to/your/venv/bin:$PATH"
Pip install fails due to permission errors
This usually happens when you're trying to install packages globally. Always ensure your virtual environment is activated before installing packages.
Virtual environment not recognized by IDE
If your IDE doesn't recognize the virtual environment, manually point it to the correct Python interpreter in the virtual environment's bin directory.
Conclusion
Virtual environments are a powerful tool in a Python developer's arsenal. They provide isolation, flexibility, and reproducibility for your Python projects. By mastering virtual environments, you'll be able to manage complex dependencies with ease, collaborate more effectively, and create more robust Python applications.
Remember, the key to success with virtual environments is consistency and good practices. Always activate your environment before working on a project, keep your requirements.txt up to date, and document your setup process for others (including your future self!).
Happy coding in your isolated Python paradises! 🐍🏝️

