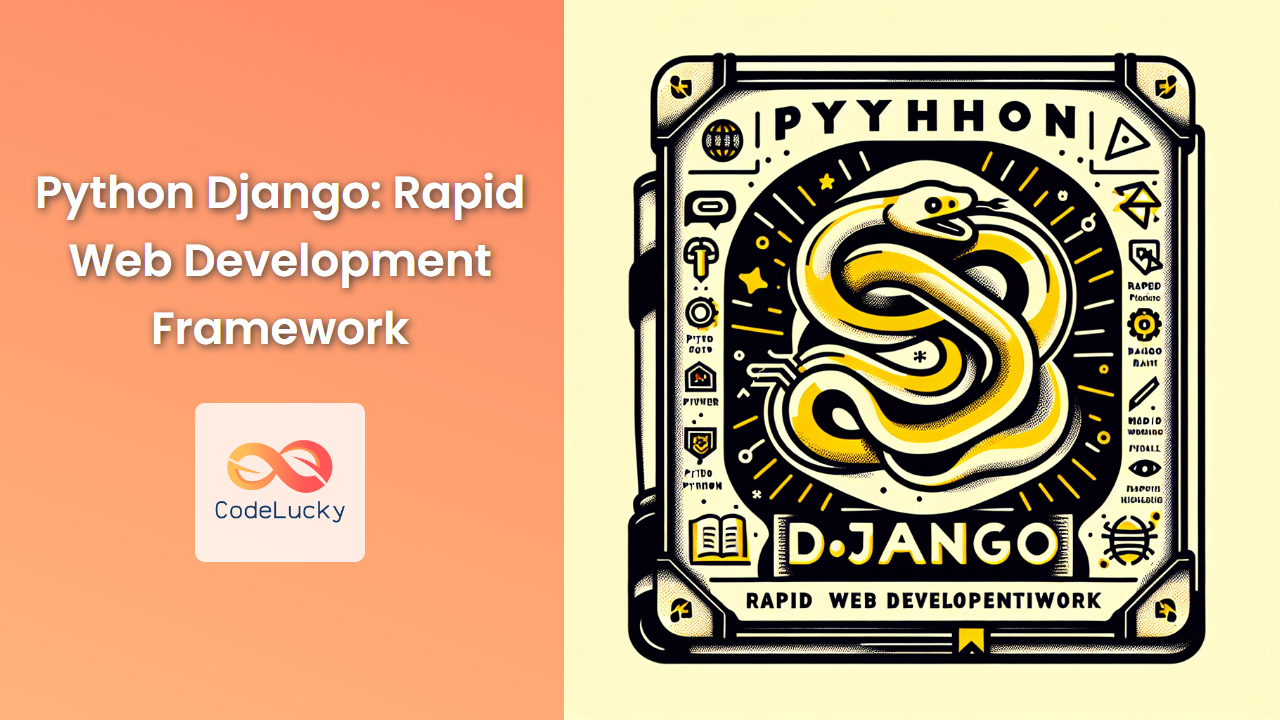
Django, often referred to as the "web framework for perfectionists with deadlines," is a high-level Python web framework that enables rapid development of secure and maintainable websites. Built by experienced developers, Django takes care of much of the hassle of web development, so you can focus on writing your app without needing to reinvent the wheel.
What is Django?
Django is a free and open-source web framework that follows the model-template-view (MTV) architectural pattern. It's maintained by the Django Software Foundation (DSF), an independent organization established as a 501(c)(3) non-profit.
🚀 Fun Fact: Django was initially developed between 2003 and 2005 by a web team who were responsible for creating and maintaining newspaper websites.
Key Features of Django
-
Rapid Development: Django's philosophy is to make it easier to build better web applications more quickly and with less code.
-
Batteries Included: Django comes with a lot of built-in features like an admin interface, authentication, and more.
-
Security: Django helps developers avoid many common security mistakes by providing a framework that has been engineered to "do the right things" to protect the website automatically.
-
Scalability: Some of the busiest sites on the web leverage Django's ability to quickly and flexibly scale to meet the heaviest traffic demands.
-
Versatility: Django can be (and has been) used to build almost any type of website — from content management systems and wikis to social networks and news sites.
Let's dive deeper into each of these features with practical examples.
Rapid Development with Django
Django's "batteries-included" philosophy means that you get a lot of functionality out of the box. Let's create a simple blog application to demonstrate how quickly you can get a project up and running.
First, ensure you have Django installed:
pip install django
Now, let's create a new Django project:
django-admin startproject myblog
cd myblog
Create a new app within your project:
python manage.py startapp blog
Now, let's define a simple model for our blog posts. Open blog/models.py:
from django.db import models
from django.utils import timezone

class Post(models.Model):
    title = models.CharField(max_length=200)
    content = models.TextField()
    published_date = models.DateTimeField(default=timezone.now)

    def __str__(self):
        return self.title
This model defines a blog post with a title, content, and publication date. The __str__ method provides a human-readable representation of the object.
Next, let's create a view to display our blog posts. In blog/views.py:
from django.shortcuts import render
from .models import Post

def post_list(request):
    posts = Post.objects.order_by('-published_date')
    return render(request, 'blog/post_list.html', {'posts': posts})
This view retrieves all blog posts, orders them by publication date, and passes them to a template.
Create a template to display the posts. Create a new file blog/templates/blog/post_list.html:
<!DOCTYPE html>
<html>
<head>
    <title>My Blog</title>
</head>
<body>
    <h1>My Blog</h1>
    {% for post in posts %}
        <article>
            <h2>{{ post.title }}</h2>
            <p>{{ post.content }}</p>
            <p>Published: {{ post.published_date }}</p>
        </article>
    {% endfor %}
</body>
</html>
Finally, let's set up a URL for our view. In myblog/urls.py:
from django.contrib import admin
from django.urls import path
from blog import views

urlpatterns = [
    path('admin/', admin.site.urls),
    path('', views.post_list, name='post_list'),
]
With just these few files, we've created a functional blog application. Django's built-in features allow us to focus on the unique aspects of our application without worrying about the underlying infrastructure.
Django Admin: A Powerful Built-in Feature
One of Django's most powerful features is its automatic admin interface. Let's set it up for our blog application.
First, we need to create a superuser:
python manage.py createsuperuser
Follow the prompts to create your admin account.
Now, let's register our Post model with the admin site. In blog/admin.py:
from django.contrib import admin
from .models import Post

admin.site.register(Post)
Run the development server:
python manage.py runserver
Navigate to http://127.0.0.1:8000/admin/ and log in with your superuser credentials. You'll see an interface where you can manage your blog posts.
🔒 Security Tip: Django's admin interface is a powerful tool, but it's important to secure it properly in production environments. Always use strong passwords and consider additional security measures like two-factor authentication.
Django's Built-in Security Features
Django takes security seriously and includes several built-in protections against common web application vulnerabilities.
Cross-Site Scripting (XSS) Protection
Django's template system automatically escapes variables to prevent XSS attacks. For example:
<p>{{ user_input }}</p>
If user_input contains HTML or JavaScript, it will be escaped and rendered as plain text.
Cross-Site Request Forgery (CSRF) Protection
Django includes built-in protection against CSRF attacks. In your forms, you should include the CSRF token:
<form method="post">
    {% csrf_token %}
    <!-- form fields here -->
    <button type="submit">Submit</button>
</form>
SQL Injection Protection
Django's ORM (Object-Relational Mapping) provides a layer of abstraction that helps prevent SQL injection attacks. For example:
# Safe:
Post.objects.filter(title__contains=user_input)

# Unsafe (don't do this):
Post.objects.raw("SELECT * FROM blog_post WHERE title LIKE '%" + user_input + "%'")
The first example is safe because Django's ORM properly escapes the user input. The second example is vulnerable to SQL injection and should be avoided.
Scalability in Django
Django is designed to help developers follow best practices, which inherently leads to more scalable applications. Here are some ways Django promotes scalability:
Database Optimization
Django's ORM includes several features to optimize database queries. For example, you can use select_related() to reduce the number of database queries:
# Without select_related (2 queries)
post = Post.objects.get(id=1)
author_name = post.author.name

# With select_related (1 query)
post = Post.objects.select_related('author').get(id=1)
author_name = post.author.name
Caching
Django provides a robust caching framework. Here's an example of how to cache a view:
from django.views.decorators.cache import cache_page

@cache_page(60 * 15)  # Cache for 15 minutes
def my_view(request):
    # View logic here
    return render(request, 'my_template.html')
Asynchronous Views
Django 3.1+ supports asynchronous views, which can improve performance for I/O-bound operations:
import asyncio
from django.http import HttpResponse

async def async_view(request):
    await asyncio.sleep(1)  # Simulate an async operation
    return HttpResponse("Hello, async world!")
Versatility of Django
Django's versatility allows it to be used for a wide range of web applications. Let's explore a few different types of applications you can build with Django.
RESTful API
Django Rest Framework (DRF) is a powerful and flexible toolkit for building Web APIs. Here's a simple example:
from rest_framework import viewsets
from .models import Post
from .serializers import PostSerializer

class PostViewSet(viewsets.ModelViewSet):
    queryset = Post.objects.all()
    serializer_class = PostSerializer
This creates a full CRUD API for our Post model.
Real-time Applications
Django can be used with channels to create real-time applications. Here's a simple chat consumer:
from channels.generic.websocket import AsyncWebsocketConsumer
import json

class ChatConsumer(AsyncWebsocketConsumer):
    async def connect(self):
        await self.accept()

    async def disconnect(self, close_code):
        pass

    async def receive(self, text_data):
        text_data_json = json.loads(text_data)
        message = text_data_json['message']

        await self.send(text_data=json.dumps({
            'message': message
        }))
Machine Learning Integration
Django can also be integrated with machine learning models. Here's an example using a pre-trained sentiment analysis model:
from django.http import JsonResponse
from transformers import pipeline

sentiment_pipeline = pipeline("sentiment-analysis")

def analyze_sentiment(request):
    text = request.GET.get('text', '')
    result = sentiment_pipeline(text)[0]
    return JsonResponse({
        'text': text,
        'sentiment': result['label'],
        'score': result['score']
    })
This view accepts a text parameter and returns the sentiment analysis result.
Conclusion
Django's rapid development capabilities, built-in features, strong security, scalability, and versatility make it an excellent choice for web development projects of all sizes. Whether you're building a simple blog, a complex e-commerce platform, or a real-time application, Django provides the tools and structure to help you succeed.
Remember, the examples provided here are just the tip of the iceberg. Django's extensive documentation and vibrant community provide a wealth of resources for developers to continue learning and improving their skills.
🌟 Pro Tip: While Django's "batteries-included" philosophy provides many features out of the box, it's important to understand these features thoroughly. Regularly consult the official Django documentation and keep up with best practices to make the most of this powerful framework.
By leveraging Django's capabilities, you can focus on creating unique, value-adding features for your web applications, rather than reinventing the wheel for common functionalities. Happy coding!

