PowerShell scripting requires the right development environment to maximize productivity and efficiency. Whether you’re automating system tasks, managing servers, or building complex scripts, choosing between PowerShell ISE and VS Code, along with properly configuring PowerShell profiles, significantly impacts your workflow. This comprehensive guide explores both editors, profile configuration, and best practices for professional PowerShell development.
Understanding PowerShell Development Environments
PowerShell offers multiple environments for script development, each with distinct advantages. PowerShell ISE (Integrated Scripting Environment) comes built-in with Windows, while Visual Studio Code with the PowerShell extension provides a modern, extensible alternative. Understanding their capabilities helps you select the right tool for your needs.

PowerShell ISE: The Traditional Environment
PowerShell ISE provides a dedicated environment specifically designed for PowerShell scripting. It includes a script pane, console pane, and command add-on for streamlined development.
Launching PowerShell ISE
Open PowerShell ISE using any of these methods:
# From PowerShell console
powershell_ise.exe

# From Run dialog (Win + R)
# Type: powershell_ise

# From Start Menu
# Search for "PowerShell ISE"

# Open with a specific script
powershell_ise.exe "C:\Scripts\MyScript.ps1"
PowerShell ISE Interface Components
The ISE interface consists of three main areas that work together for script development:
- Script Pane: Write and edit PowerShell scripts with syntax highlighting
- Console Pane: Execute commands interactively and view output
- Command Add-on: Browse available cmdlets, functions, and modules
Basic Scripting in PowerShell ISE
# Create a simple script in the Script Pane
$computers = @("Server01", "Server02", "Server03")

foreach ($computer in $computers) {
    Write-Host "Checking connection to $computer..." -ForegroundColor Cyan

    if (Test-Connection -ComputerName $computer -Count 1 -Quiet) {
        Write-Host "✓ $computer is online" -ForegroundColor Green
    } else {
        Write-Host "✗ $computer is offline" -ForegroundColor Red
    }
}
Output:
Checking connection to Server01...
✓ Server01 is online
Checking connection to Server02...
✓ Server02 is online
Checking connection to Server03...
✗ Server03 is offline
Debugging in PowerShell ISE
PowerShell ISE includes built-in debugging capabilities with breakpoints, step execution, and variable inspection:
# Set a breakpoint by clicking the left margin or using F9
# Example script for debugging
function Get-ProcessMemory {
    param([string]$ProcessName)

    $processes = Get-Process -Name $ProcessName -ErrorAction SilentlyContinue

    if ($processes) {
        foreach ($process in $processes) {
            [PSCustomObject]@{
                ProcessName = $process.Name
                ID = $process.Id
                MemoryMB = [math]::Round($process.WorkingSet64 / 1MB, 2)
            }
        }
    } else {
        Write-Warning "Process '$ProcessName' not found"
    }
}

# Run with debugging
Get-ProcessMemory -ProcessName "powershell"
Debugging shortcuts in ISE:
- F9: Toggle breakpoint
- F5: Run script
- F10: Step over
- F11: Step into
- Shift+F5: Stop debugger
Customizing PowerShell ISE
# Access ISE options programmatically
$psISE.Options.FontSize = 14
$psISE.Options.FontName = "Consolas"

# Set color scheme
$psISE.Options.ConsolePaneBackgroundColor = "#012456"
$psISE.Options.ConsolePaneTextBackgroundColor = "#012456"
$psISE.Options.ConsolePaneForegroundColor = "#F0F0F0"

# Script pane colors
$psISE.Options.ScriptPaneBackgroundColor = "#FFFFFF"
$psISE.Options.ScriptPaneForegroundColor = "#000000"

# Token colors for syntax highlighting
$psISE.Options.TokenColors["Command"] = "#0000FF"
$psISE.Options.TokenColors["Variable"] = "#FF4500"
$psISE.Options.TokenColors["String"] = "#8B0000"
Visual Studio Code: The Modern Alternative
Visual Studio Code with the PowerShell extension offers a powerful, modern development environment with advanced features, Git integration, and extensive customization options.
Setting Up VS Code for PowerShell
# Install VS Code from https://code.visualstudio.com/

# Install PowerShell extension via command line
code --install-extension ms-vscode.PowerShell

# Or install from VS Code
# Press Ctrl+Shift+X, search "PowerShell", install the Microsoft extension
VS Code PowerShell Extension Features

Creating and Running Scripts in VS Code
# Create a new PowerShell script
# File > New File > Select "PowerShell"
# Or save with .ps1 extension

# Example: System Information Script
function Get-SystemInfo {
    [CmdletBinding()]
    param(
        [Parameter(ValueFromPipeline)]
        [string[]]$ComputerName = $env:COMPUTERNAME
    )

    begin {
        Write-Verbose "Starting system information collection..."
    }

    process {
        foreach ($computer in $ComputerName) {
            try {
                $os = Get-CimInstance -ClassName Win32_OperatingSystem -ComputerName $computer
                $cs = Get-CimInstance -ClassName Win32_ComputerSystem -ComputerName $computer

                [PSCustomObject]@{
                    ComputerName = $computer
                    OS = $os.Caption
                    Version = $os.Version
                    TotalMemoryGB = [math]::Round($cs.TotalPhysicalMemory / 1GB, 2)
                    Manufacturer = $cs.Manufacturer
                    Model = $cs.Model
                    LastBootTime = $os.LastBootUpTime
                }
            } catch {
                Write-Error "Failed to retrieve information from $computer: $_"
            }
        }
    }
}

# Execute with verbose output
Get-SystemInfo -Verbose
Output:
VERBOSE: Starting system information collection...

ComputerName  : WORKSTATION01
OS            : Microsoft Windows 11 Pro
Version       : 10.0.22621
TotalMemoryGB : 32
Manufacturer  : Dell Inc.
Model         : Precision 5570
LastBootTime  : 10/22/2025 8:30:15 AM
Using Integrated Terminal in VS Code
# Open integrated terminal
# View > Terminal or Ctrl+`

# Set PowerShell as default terminal
# Open Command Palette (Ctrl+Shift+P)
# Type: "Terminal: Select Default Profile"
# Choose "PowerShell"

# Run current script: F5
# Run selection: F8
# Open PowerShell interactive: Ctrl+Shift+P > "PowerShell: Show Session Menu"
Code Snippets in VS Code
# Built-in snippets (type and press Tab)
# func - Creates a function template
# cmdlet - Creates an advanced function

# Example using cmdlet snippet:
function Get-CustomData {
    [CmdletBinding()]
    param (
        [Parameter(Mandatory=$true)]
        [string]$Path,

        [Parameter()]
        [ValidateSet('CSV', 'JSON', 'XML')]
        [string]$Format = 'CSV'
    )

    begin {
        if (-not (Test-Path $Path)) {
            throw "Path not found: $Path"
        }
    }

    process {
        switch ($Format) {
            'CSV'  { Import-Csv -Path $Path }
            'JSON' { Get-Content -Path $Path | ConvertFrom-Json }
            'XML'  { [xml](Get-Content -Path $Path) }
        }
    }
}

# Usage
Get-CustomData -Path "C:\Data\users.csv" -Format CSV
PSScriptAnalyzer Integration
# Install PSScriptAnalyzer
Install-Module -Name PSScriptAnalyzer -Scope CurrentUser -Force

# VS Code automatically uses it for real-time analysis
# Example: It will warn about this code
function Bad-Function {  # Warning: Use approved verbs
    $name = "test"       # Warning: Variable assigned but never used
    Write-Host "Hello"   # Warning: Avoid Write-Host, use Write-Output
}

# Corrected version
function Get-Greeting {
    [CmdletBinding()]
    param([string]$Name = "World")

    Write-Output "Hello, $Name!"
}
PowerShell Profiles: Customizing Your Environment
PowerShell profiles are scripts that run automatically when PowerShell starts, allowing you to customize your environment with aliases, functions, variables, and modules.
Understanding Profile Types

Locating Profile Paths
# Check all profile paths
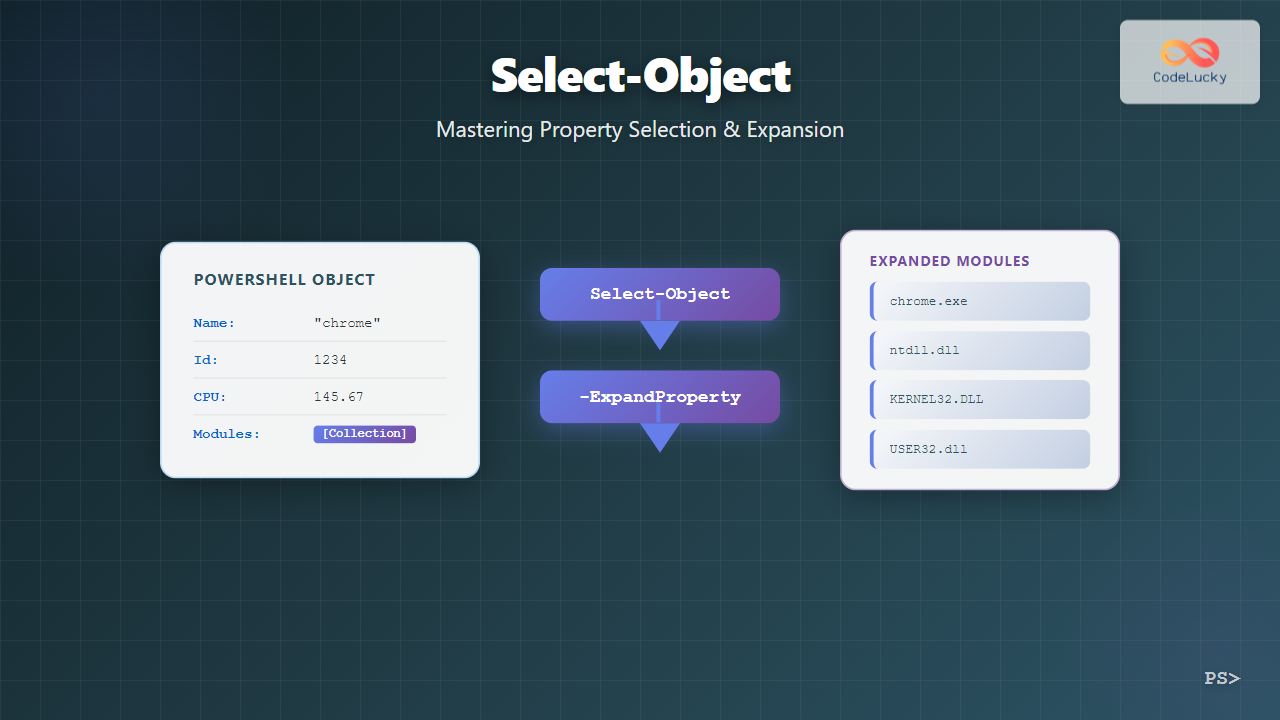
$PROFILE | Get-Member -MemberType NoteProperty | Select-Object Name, @{
Name = 'Path'
Expression = { $PROFILE.$($_.Name) }
}
# Common profile locations
$PROFILE.CurrentUserCurrentHost # Most commonly used
$PROFILE.CurrentUserAllHosts
$PROFILE.AllUsersCurrentHost
$PROFILE.AllUsersAllHosts
# Check if profile exists
Test-Path $PROFILE.CurrentUserCurrentHost
Output:
Name                      Path
----                      ----
AllUsersAllHosts          C:\Windows\System32\WindowsPowerShell\v1.0\profile.ps1
AllUsersCurrentHost       C:\Windows\System32\WindowsPowerShell\v1.0\Microsoft.PowerShell_profile.ps1
CurrentUserAllHosts       C:\Users\YourName\Documents\PowerShell\profile.ps1
CurrentUserCurrentHost    C:\Users\YourName\Documents\PowerShell\Microsoft.PowerShell_profile.ps1
Creating Your First Profile
# Create profile if it doesn't exist
if (-not (Test-Path $PROFILE.CurrentUserCurrentHost)) {
    New-Item -Path $PROFILE.CurrentUserCurrentHost -ItemType File -Force
    Write-Host "Profile created at: $($PROFILE.CurrentUserCurrentHost)" -ForegroundColor Green
}

# Open profile in default editor
notepad $PROFILE.CurrentUserCurrentHost

# Or open in VS Code
code $PROFILE.CurrentUserCurrentHost

# Or open in PowerShell ISE
powershell_ise.exe $PROFILE.CurrentUserCurrentHost
Essential Profile Customizations
# Example PowerShell Profile
# Location: $PROFILE.CurrentUserCurrentHost
# Set console title
$Host.UI.RawUI.WindowTitle = "PowerShell - $env:USERNAME@$env:COMPUTERNAME"
# Custom prompt
function prompt {
$path = Get-Location
$time = Get-Date -Format "HH:mm:ss"
Write-Host "[$time] " -NoNewline -ForegroundColor Yellow
Write-Host "$path" -ForegroundColor Cyan
return "> "
}
# Useful aliases
Set-Alias -Name ll -Value Get-ChildItem
Set-Alias -Name grep -Value Select-String
Set-Alias -Name touch -Value New-Item
Set-Alias -Name edit -Value code
# Custom functions
function Get-DiskSpace {
Get-PSDrive -PSProvider FileSystem | Where-Object {$_.Used -gt 0} |
Select-Object Name,
@{Name='UsedGB';Expression={[math]::Round($_.Used/1GB,2)}},
@{Name='FreeGB';Expression={[math]::Round($_.Free/1GB,2)}},
@{Name='TotalGB';Expression={[math]::Round(($_.Used+$_.Free)/1GB,2)}}
}
function Get-PublicIP {
(Invoke-WebRequest -Uri "https://api.ipify.org" -UseBasicParsing).Content
}
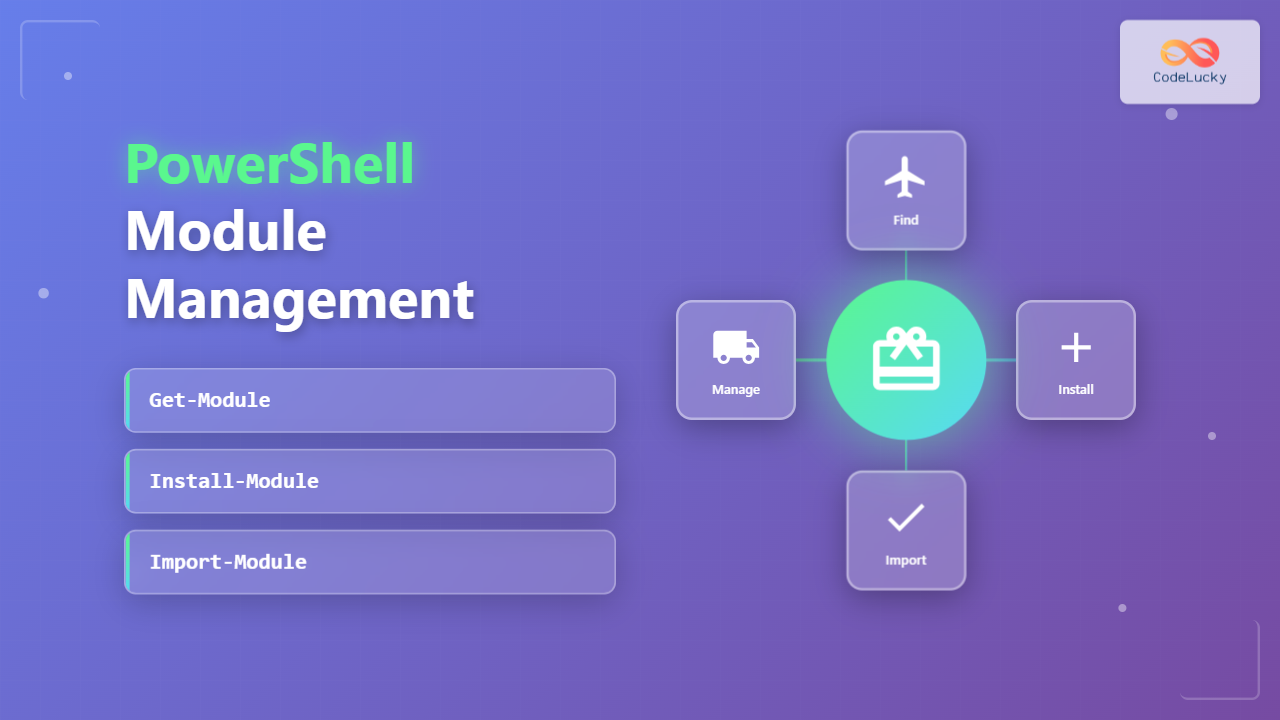
# Module auto-loading
Import-Module -Name PSReadLine
Import-Module -Name posh-git -ErrorAction SilentlyContinue
# PSReadLine configuration
Set-PSReadLineOption -PredictionSource History
Set-PSReadLineOption -PredictionViewStyle ListView
Set-PSReadLineOption -EditMode Windows
Set-PSReadLineKeyHandler -Key Tab -Function Complete
# Environment variables
$env:EDITOR = "code"
# Welcome message
Write-Host "Welcome back, $env:USERNAME!" -ForegroundColor Green
Write-Host "PowerShell $($PSVersionTable.PSVersion)" -ForegroundColor Cyan
Profile Loading Process

Advanced Profile Functions
# Add to your profile for enhanced functionality

# Quick navigation
function Set-LocationAndList {
    param([string]$Path)
    Set-Location $Path
    Get-ChildItem
}
Set-Alias -Name cdl -Value Set-LocationAndList

# Git shortcuts (requires posh-git)
function Get-GitStatus { git status }
function Get-GitLog { git log --oneline --graph --all --decorate }
Set-Alias -Name gs -Value Get-GitStatus
Set-Alias -Name gl -Value Get-GitLog

# System administration helpers
function Get-ServiceStatus {
    param([string]$Name = "*")
    Get-Service -Name $Name |
        Select-Object Name, Status, DisplayName, StartType |
        Sort-Object Status, Name
}

function Restart-PowerShellProfile {
    & $PROFILE.CurrentUserCurrentHost
    Write-Host "Profile reloaded successfully!" -ForegroundColor Green
}
Set-Alias -Name reload -Value Restart-PowerShellProfile

# Network utilities
function Test-PortConnection {
    param(
        [Parameter(Mandatory)]
        [string]$ComputerName,

        [Parameter(Mandatory)]
        [int]$Port,

        [int]$Timeout = 1000
    )

    $tcpClient = New-Object System.Net.Sockets.TcpClient
    $connect = $tcpClient.BeginConnect($ComputerName, $Port, $null, $null)
    $wait = $connect.AsyncWaitHandle.WaitOne($Timeout, $false)

    if (!$wait) {
        $tcpClient.Close()
        return $false
    } else {
        try {
            $tcpClient.EndConnect($connect)
            $tcpClient.Close()
            return $true
        } catch {
            return $false
        }
    }
}

# Quick file operations
function New-Directory {
    param([Parameter(Mandatory)][string]$Name)
    New-Item -Path $Name -ItemType Directory -Force
    Set-Location $Name
}
Set-Alias -Name mkcd -Value New-Directory
Testing Profile Functions
# After adding functions to profile, reload it
. $PROFILE.CurrentUserCurrentHost

# Test disk space function
Get-DiskSpace
Output:
Name UsedGB FreeGB TotalGB
---- ------ ------ -------
C     234.56 189.44  424.00
D     856.32  67.68  924.00
# Test port connection
Test-PortConnection -ComputerName "google.com" -Port 443
Output:
True
Comparing PowerShell ISE and VS Code
| Feature | PowerShell ISE | VS Code |
|---|---|---|
| Platform Support | Windows only | Windows, macOS, Linux |
| PowerShell Version | Windows PowerShell 5.1 | PowerShell 5.1 and 7+ |
| IntelliSense | Basic | Advanced with parameter info |
| Debugging | Built-in, simple | Advanced with watch variables |
| Git Integration | None | Native Git support |
| Extensions | Limited add-ons | Extensive marketplace |
| Code Formatting | Manual | Automatic with PSScriptAnalyzer |
| Multi-file Projects | Basic support | Full workspace management |
| Performance | Good for small scripts | Better for large projects |
| Learning Curve | Easy for beginners | Moderate, more features |
Best Practices for PowerShell Development
Script Organization
# Recommended script structure
#Requires -Version 5.1
#Requires -Modules ActiveDirectory

<#
.SYNOPSIS
    Brief description of script purpose
.DESCRIPTION
    Detailed description of what the script does
.PARAMETER ComputerName
    Target computer name
.EXAMPLE
    .\Get-SystemReport.ps1 -ComputerName "Server01"
.NOTES
    Author: Your Name
    Date: 2025-10-22
    Version: 1.0
#>

[CmdletBinding()]
param(
    [Parameter(Mandatory = $true)]
    [ValidateNotNullOrEmpty()]
    [string]$ComputerName
)

# Error handling preference
$ErrorActionPreference = 'Stop'

# Script variables
$outputPath = "$PSScriptRoot\Reports"
$timestamp = Get-Date -Format "yyyyMMdd_HHmmss"

# Main script logic
try {
    # Ensure output directory exists
    if (-not (Test-Path $outputPath)) {
        New-Item -Path $outputPath -ItemType Directory -Force | Out-Null
    }

    # Your script logic here
    Write-Verbose "Connecting to $ComputerName..."

} catch {
    Write-Error "Script execution failed: $_"
    exit 1
} finally {
    Write-Verbose "Script execution completed"
}
Version Control Integration
# Initialize Git repository for scripts
Set-Location "C:\Scripts"
git init

# Create .gitignore for PowerShell
@"
# PowerShell artifacts
*.log
*.tmp
*.temp
profile.backup.ps1

# Sensitive data
*.credentials
secrets.ps1
config.local.ps1

# Output directories
Reports/
Logs/
Output/
"@ | Out-File -FilePath .gitignore -Encoding utf8

# Make initial commit
git add .
git commit -m "Initial commit: PowerShell scripts structure"

# Add remote repository
git remote add origin https://github.com/yourusername/powershell-scripts.git
git push -u origin main
Testing and Validation
# Using Pester for script testing
Install-Module -Name Pester -Force -SkipPublisherCheck

# Example test file: Get-SystemInfo.Tests.ps1
Describe "Get-SystemInfo Tests" {

    Context "Parameter Validation" {
        It "Should accept valid computer name" {
            { Get-SystemInfo -ComputerName "localhost" } | Should -Not -Throw
        }

        It "Should handle invalid computer name gracefully" {
            { Get-SystemInfo -ComputerName "InvalidComputer999" } | Should -Throw
        }
    }

    Context "Output Validation" {
        It "Should return PSCustomObject" {
            $result = Get-SystemInfo -ComputerName "localhost"
            $result | Should -BeOfType [PSCustomObject]
        }

        It "Should have required properties" {
            $result = Get-SystemInfo -ComputerName "localhost"
            $result.ComputerName | Should -Not -BeNullOrEmpty
            $result.OS | Should -Not -BeNullOrEmpty
            $result.TotalMemoryGB | Should -BeGreaterThan 0
        }
    }
}

# Run tests
Invoke-Pester -Path ".\Get-SystemInfo.Tests.ps1"
Environment-Specific Configurations
Separate Profiles for ISE and VS Code
# Profile for PowerShell ISE
# $PROFILE.CurrentUserCurrentHost for ISE

# ISE-specific customizations
$psISE.Options.FontSize = 12
$psISE.Options.ShowWarningForDuplicateFiles = $true

# Add ISE add-ons
Add-Type -AssemblyName System.Windows.Forms

function Open-InExplorer {
    $path = $psISE.CurrentFile.FullPath | Split-Path
    explorer.exe $path
}

# ISE keyboard shortcuts via menu
$psISE.CurrentPowerShellTab.AddOnsMenu.Submenus.Add(
    "Open in Explorer",
    {Open-InExplorer},
    "Ctrl+Shift+E"
)
# Profile for VS Code
# Different from ISE profile

# VS Code specific settings
$env:TERM = "xterm-256color"

# Better integration with VS Code terminal
function code-here {
    code $PWD
}

# Quick script template
function New-PSScript {
    param([string]$Name)
    $template = @"
[CmdletBinding()]
param()

begin {
    Write-Verbose "Starting $Name..."
}

process {
    # Your code here
}

end {
    Write-Verbose "Completed $Name"
}
"@
    $template | Out-File "$Name.ps1" -Encoding utf8
    code "$Name.ps1"
}
Dynamic Profile Loading
# Detect host and load appropriate configurations
switch ($Host.Name) {
    'Windows PowerShell ISE Host' {
        Write-Host "Loading ISE configurations..." -ForegroundColor Cyan
        # ISE-specific code
        $psISE.Options.FontSize = 12
    }
    'ConsoleHost' {
        Write-Host "Loading Console configurations..." -ForegroundColor Cyan
        # Console-specific code
        $Host.UI.RawUI.WindowTitle = "PowerShell Console"
    }
    'Visual Studio Code Host' {
        Write-Host "Loading VS Code configurations..." -ForegroundColor Cyan
        # VS Code-specific code
        Set-PSReadLineOption -PredictionViewStyle ListView
    }
}

# Common configurations for all hosts
Set-Alias -Name ll -Value Get-ChildItem
Import-Module -Name PSReadLine -ErrorAction SilentlyContinue
Troubleshooting Common Issues
Profile Execution Policy
# Check current execution policy
Get-ExecutionPolicy -List

# If profile won't run, set execution policy
Set-ExecutionPolicy -ExecutionPolicy RemoteSigned -Scope CurrentUser

# Verify profile can execute
. $PROFILE.CurrentUserCurrentHost
Output:
        Scope ExecutionPolicy
        ----- ---------------
MachinePolicy       Undefined
   UserPolicy       Undefined
      Process       Undefined
  CurrentUser    RemoteSigned
 LocalMachine       Undefined
Profile Loading Errors
# Add error handling to profile
try {
    # Your profile customizations
    Import-Module SomeModule
} catch {
    Write-Warning "Failed to load module: $_"
}

# Test profile syntax without running
Get-Command -Syntax $PROFILE.CurrentUserCurrentHost

# Debug profile loading
$PROFILE.CurrentUserCurrentHost | ForEach-Object {
    if (Test-Path $_) {
        Write-Host "Testing: $_" -ForegroundColor Yellow
        . $_ -ErrorAction Stop
    }
}
Performance Optimization
# Measure profile load time
Measure-Command { . $PROFILE.CurrentUserCurrentHost }

# Optimize slow-loading modules
# Instead of:
Import-Module LargeModule

# Use:
$null = Get-Module -Name LargeModule -ListAvailable
# Only import when needed

# Lazy loading function
function Import-ModuleOnDemand {
    param([string]$ModuleName)

    if (-not (Get-Module -Name $ModuleName)) {
        Import-Module -Name $ModuleName
    }
}
Practical Workflow Examples
Development Workflow in VS Code
# 1. Create new script
New-Item -Path ".\Invoke-Backup.ps1" -ItemType File

# 2. Write script with IntelliSense
function Invoke-Backup {
    [CmdletBinding(SupportsShouldProcess)]
    param(
        [Parameter(Mandatory)]
        [ValidateScript({Test-Path $_})]
        [string]$SourcePath,

        [Parameter(Mandatory)]
        [string]$DestinationPath,

        [switch]$Compress
    )

    if ($PSCmdlet.ShouldProcess($SourcePath, "Backup files")) {
        $timestamp = Get-Date -Format "yyyyMMdd_HHmmss"
        $backupName = "Backup_$timestamp"

        if ($Compress) {
            Compress-Archive -Path $SourcePath\* `
                            -DestinationPath "$DestinationPath\$backupName.zip" `
                            -CompressionLevel Optimal
        } else {
            Copy-Item -Path $SourcePath\* `
                     -Destination "$DestinationPath\$backupName" `
                     -Recurse
        }

        Write-Output "Backup completed: $backupName"
    }
}

# 3. Test in integrated terminal (F8 for selection)
Invoke-Backup -SourcePath "C:\Data" -DestinationPath "D:\Backups" -Compress -WhatIf

# 4. Debug with breakpoints (F9)
# 5. Commit to version control
git add Invoke-Backup.ps1
git commit -m "Add backup function with compression support"
Quick Scripting in ISE
# Rapid prototyping workflow in ISE

# 1. Use Command Add-on to explore cmdlets
# Search for "Process" in Commands pane
# Click on Get-Process to see syntax

# 2. Write quick script in Script Pane
$processes = Get-Process |
    Where-Object {$_.WorkingSet64 -gt 100MB} |
    Sort-Object WorkingSet64 -Descending |
    Select-Object -First 10 Name, Id,
        @{Name='MemoryMB';Expression={[math]::Round($_.WorkingSet64/1MB,2)}}

# 3. Execute selection (F8) or entire script (F5)
$processes | Format-Table -AutoSize

# 4. Save as module function for reuse
$processes | Export-Csv -Path "high-memory-processes.csv" -NoTypeInformation
Output:
Name             Id MemoryMB
----             -- --------
chrome         8432   856.32
firefox        5612   634.21
code          12048   512.45
sqlservr       1824   445.89
Teams          9876   389.56
outlook        7432   298.34
Security Considerations
Protecting Sensitive Data in Profiles
# NEVER store passwords in plain text
# Bad practice:
$password = "MyPassword123"

# Good practice: Use secure strings
$credentialPath = "$env:USERPROFILE\secure-credentials.xml"

# Store credentials securely
function Save-SecureCredential {
    param([string]$Name)

    $credential = Get-Credential -Message "Enter credentials for $Name"
    $credential | Export-Clixml -Path "$env:USERPROFILE\$Name-cred.xml"
}

# Load credentials in profile
function Get-SavedCredential {
    param([string]$Name)

    $credPath = "$env:USERPROFILE\$Name-cred.xml"
    if (Test-Path $credPath) {
        Import-Clixml -Path $credPath
    }
}

# Usage in profile
# $sqlCred = Get-SavedCredential -Name "SQLServer"
Profile Backup Strategy
# Backup profile before making changes
function Backup-Profile {
    $backupPath = "$env:USERPROFILE\Documents\ProfileBackups"

    if (-not (Test-Path $backupPath)) {
        New-Item -Path $backupPath -ItemType Directory | Out-Null
    }

    $timestamp = Get-Date -Format "yyyyMMdd_HHmmss"
    $backupFile = "$backupPath\profile_$timestamp.ps1"

    Copy-Item -Path $PROFILE.CurrentUserCurrentHost -Destination $backupFile
    Write-Host "Profile backed up to: $backupFile" -ForegroundColor Green
}

# Add to profile for automatic backups
if ((Get-Date).Day -eq 1) {
    Backup-Profile
}
Mastering PowerShell scripting environments and profiles transforms your development workflow. PowerShell ISE offers simplicity for quick scripts and learning, while VS Code provides a professional-grade environment for complex projects. Well-configured profiles ensure consistent, efficient environments across all your PowerShell sessions. Combine these tools with best practices for script organization, version control, and testing to build robust automation solutions.