JavaScript window.alert() Method: Displaying Alert Box
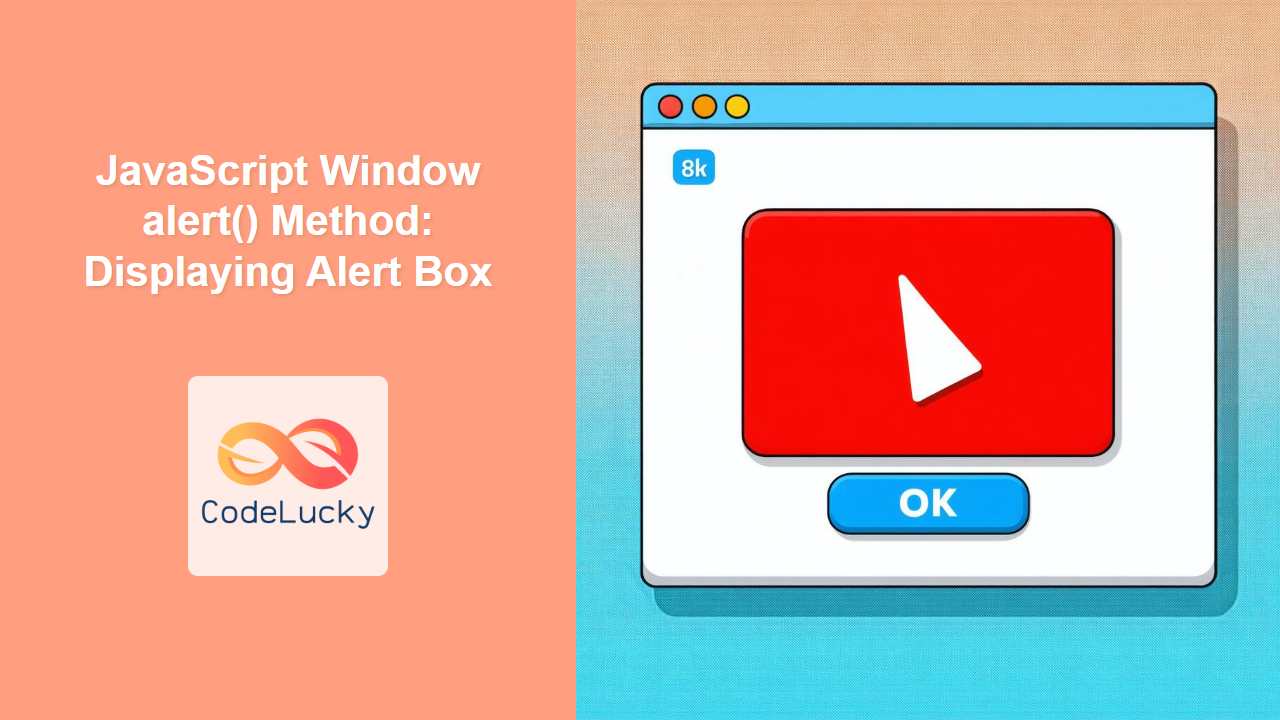
The window.alert() method in JavaScript is a fundamental function used to display a simple dialog box with an optional message and an “OK” button. It’s a synchronous method, meaning it halts the execution of subsequent code until the user dismisses the alert box by clicking “OK.” While modern web development often favors more sophisticated alternatives, alert() remains a useful tool for quick debugging and simple notifications.
Purpose of the window.alert() Method
The primary purpose of the window.alert() method is to:
- Display a modal dialog box containing a specified message.
- Pause script execution until the user acknowledges the message.
- Provide a simple way to communicate information to the user.
Syntax
The syntax for the window.alert() method is straightforward:
window.alert(message);
Where:
message: A string containing the text you want to display in the alert box. This parameter is optional. If omitted, the alert box will display an empty message.
Examples
Let’s explore several examples showcasing the usage of the window.alert() method, starting from basic to more practical scenarios.
Basic Alert
The simplest use case is displaying an alert box with a static message.
<button id="basicAlertButton">Show Basic Alert</button>

<script>
  const basicAlertButtonVar = document.getElementById("basicAlertButton");
  basicAlertButtonVar.addEventListener("click", function () {
    window.alert("This is a basic alert message!");
  });
</script>
When the button is clicked, the following alert box will appear:
Alert with a Variable Message
You can also display dynamic messages by using variables.
<input type="text" id="messageInput" placeholder="Enter your message" />
<button id="variableAlertButton">Show Variable Alert</button>

<script>
  const messageInputVar = document.getElementById("messageInput");
  const variableAlertButtonVar = document.getElementById("variableAlertButton");

  variableAlertButtonVar.addEventListener("click", function () {
    const message = messageInputVar.value;
    window.alert("You entered: " + message);
  });
</script>
In this example, the alert box displays the text entered in the input field.
Conditional Alert
Alert boxes can be used conditionally based on certain criteria.
<input type="number" id="ageInput" placeholder="Enter your age" />
<button id="conditionalAlertButton">Check Age</button>

<script>
  const ageInputVar = document.getElementById("ageInput");
  const conditionalAlertButtonVar = document.getElementById("conditionalAlertButton");

  conditionalAlertButtonVar.addEventListener("click", function () {
    const age = parseInt(ageInputVar.value);
    if (age < 18) {
      window.alert("You are not old enough!");
    } else {
      window.alert("You are old enough.");
    }
  });
</script>
This example checks the age entered by the user and displays an appropriate alert message.
Alert for Form Validation
You can use alerts to notify users about form validation errors.
<form id="myForm">
  <input type="email" id="emailInput" placeholder="Enter your email" />
  <button type="submit" id="submitButton">Submit</button>
</form>

<script>
  const myFormVar = document.getElementById("myForm");
  const emailInputVar = document.getElementById("emailInput");
  const submitButtonVar = document.getElementById("submitButton");

  myFormVar.addEventListener("submit", function (event) {
    event.preventDefault(); // Prevent form submission
    const email = emailInputVar.value;
    if (!email.includes("@")) {
      window.alert("Invalid email address!");
    } else {
      window.alert("Form submitted successfully!");
    }
  });
</script>
This example validates the email input and displays an alert if the email format is invalid.
Debugging with Alerts
alert() can be useful for quickly debugging JavaScript code.
function calculateSum(a, b) {
  window.alert("a = " + a + ", b = " + b); // Debugging alert
  return a + b;
}

let result = calculateSum(5, 10);
window.alert("Result: " + result);
These alerts help track the values of variables during the execution of the function.
Real-World Example: Confirming an Action
Although less common in modern web applications, you can use alert() to confirm critical actions.
<button id="deleteButton">Delete Item</button>

<script>
  const deleteButtonVar = document.getElementById("deleteButton");

  deleteButtonVar.addEventListener("click", function () {
    window.alert("Item deleted!"); // In a real app, you'd perform the deletion here
  });
</script>
In a real-world scenario, instead of just displaying the alert, you would perform the delete operation after the user acknowledges the alert.
Alternatives to window.alert()
While window.alert() is simple, it has drawbacks:
- It’s a blocking function, halting script execution.
- It provides limited customization.
- It’s generally considered less user-friendly than modern alternatives.
Modern alternatives include:
- Custom Modal Dialogs: Create custom HTML/CSS dialogs with full control over appearance and behavior.
- Notification APIs: Use browser notification APIs for non-blocking, system-level notifications.
- Toast Notifications: Display temporary, non-intrusive messages using JavaScript libraries.
Browser Support
The window.alert() method is supported by all major browsers, ensuring consistent behavior across different platforms.
Tips and Notes
- Use
alert()sparingly due to its blocking nature and limited customization. - For more sophisticated user notifications, consider using custom modal dialogs or notification APIs.
alert()is useful for quick debugging and simple, non-critical messages.- Always provide clear and concise messages in alert boxes.
Conclusion
The window.alert() method is a simple yet functional tool for displaying alert boxes in JavaScript. While it has limitations compared to modern alternatives, it remains a useful option for quick debugging, simple notifications, and basic form validation. Understanding its syntax, usage, and limitations will help you effectively use it in your web development projects.

