HTML Password autofocus Property: Password Input Autofocus
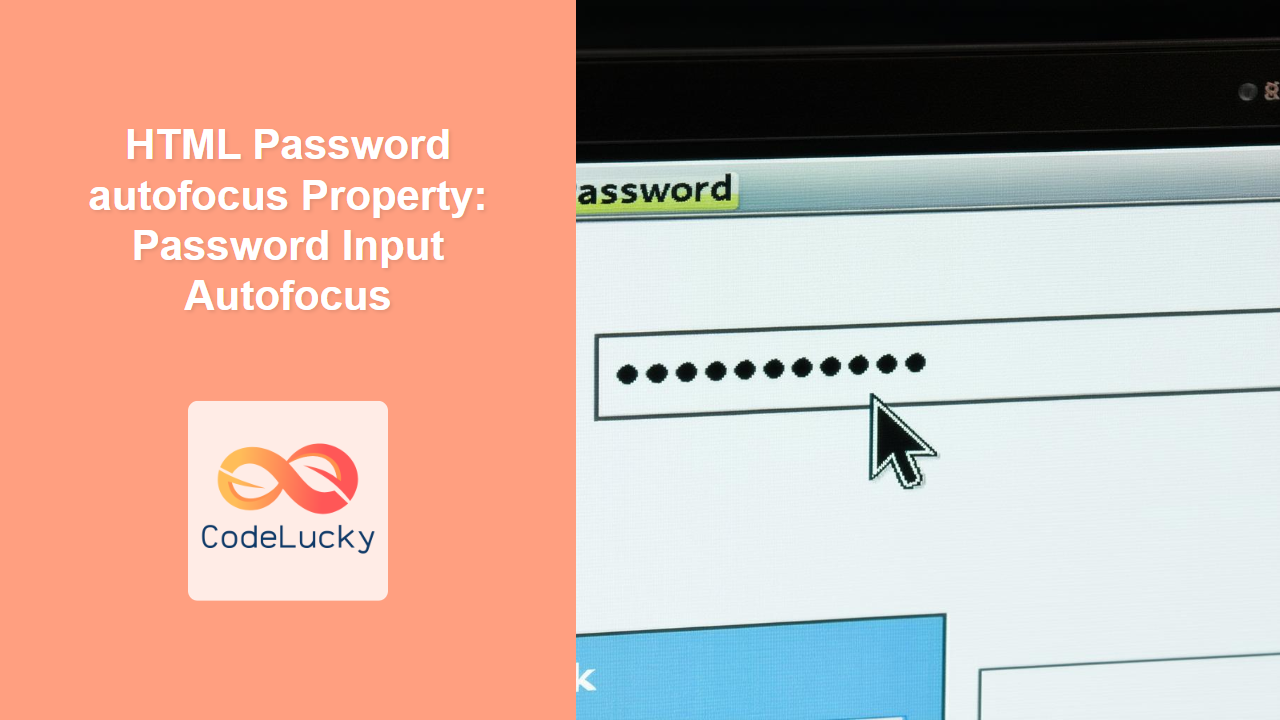
The HTML autofocus attribute, when applied to a <input type="password"> element, automatically focuses the password input field when the page loads. This can significantly enhance user experience by directing the user’s attention to the password field immediately, especially in login forms or settings pages. This guide covers the usage, syntax, and practical examples of the autofocus property.
What is the autofocus Property?
The autofocus attribute is a boolean attribute, meaning its presence indicates that the feature is enabled. When present on a password input field, the browser will automatically focus on that field as soon as the page is loaded, unless the user overrides it (e.g., by manually focusing on another element).
Purpose of the autofocus Property
The primary purpose of the autofocus property is to improve the usability of web forms by:
- Guiding the user directly to the password input field.
- Reducing the need for users to manually click or tab to the password field.
- Streamlining the form-filling process, especially on pages dedicated to login or password entry.
Syntax
The autofocus attribute is simple to implement. You only need to add the autofocus attribute to the <input type="password"> tag.
<input type="password" id="passwordInput" name="password" autofocus>
Attributes
The autofocus attribute does not take any specific values. Its mere presence in the HTML tag enables the autofocus behavior.
| Attribute | Value | Description |
|---|---|---|
| `autofocus` | (none) | Specifies that the password input field should automatically get focus when the page loads. |
Examples
Let’s explore various examples to understand how to use the autofocus property effectively.
Basic Usage
The simplest way to use the autofocus attribute is to add it to the password input field in your HTML form.
<form>
  <label for="username">Username:</label><br>
  <input type="text" id="username" name="username"><br><br>

  <label for="passwordInput1">Password:</label><br>
  <input type="password" id="passwordInput1" name="password" autofocus><br><br>

  <input type="submit" value="Submit">
</form>
In this example, the password input field will be automatically focused when the page loads.
Using autofocus in a Login Form
A common use case for autofocus is in login forms, where you want the user to immediately enter their password.
<form>
  <label for="email">Email:</label><br>
  <input type="email" id="email" name="email"><br><br>

  <label for="passwordInput2">Password:</label><br>
  <input type="password" id="passwordInput2" name="password" autofocus><br><br>

  <input type="submit" value="Login">
</form>
Conditional autofocus with JavaScript
You can also control the autofocus behavior dynamically using JavaScript. This allows you to set focus based on certain conditions.
<form>
  <label for="username">Username:</label><br>
  <input type="text" id="username3" name="username"><br><br>

  <label for="passwordInput3">Password:</label><br>
  <input type="password" id="passwordInput3" name="password"><br><br>

  <input type="submit" value="Submit">
</form>

<script>
  window.onload = function() {
    var usernameField = document.getElementById('username3');
    var passwordField = document.getElementById('passwordInput3');

    // Example condition: If the username field is empty, focus on it; otherwise, focus on the password field
    if (usernameField.value === '') {
      usernameField.focus();
    } else {
      passwordField.focus();
    }
  };
</script>
In this example, JavaScript is used to determine whether to focus on the username or password field based on whether the username field is empty. If the username field is not empty, the password field will be focused.
Disabling autofocus
In some cases, you might want to disable the autofocus behavior dynamically. This can be achieved by removing the autofocus attribute using JavaScript.
<form>
  <label for="username">Username:</label><br>
  <input type="text" id="username4" name="username"><br><br>

  <label for="passwordInput4">Password:</label><br>
  <input type="password" id="passwordInput4" name="password" autofocus><br><br>

  <input type="submit" value="Submit">
</form>

<button onclick="disableAutofocus()">Disable Autofocus</button>

<script>
  function disableAutofocus() {
    var passwordField = document.getElementById('passwordInput4');
    passwordField.removeAttribute('autofocus');
  }
</script>
Clicking the “Disable Autofocus” button will remove the autofocus attribute from the password input field, preventing it from being automatically focused on subsequent page loads or form resets.
Accessibility Considerations
- Use Sparingly: Avoid using
autofocuson multiple elements on the same page, as it can be disorienting for users. - Provide Clear Visual Cues: Ensure that the focused element has a clear visual indicator (e.g., a highlighted border) to help users identify it.
- Consider Users with Disabilities: Be mindful of users who rely on assistive technologies. Ensure that the
autofocusbehavior does not interfere with their navigation.
Real-World Applications
- Login Pages: Automatically focus on the password field after the user enters their username.
- Settings Pages: Focus on the current password field when a user wants to change their password.
- Two-Factor Authentication: Focus on the authentication code input field after the username and password have been entered.
Browser Support
The autofocus attribute is widely supported across modern web browsers:
- Chrome
- Edge
- Firefox
- Safari
- Opera
Note: While autofocus is broadly supported, always test your implementation across different browsers to ensure consistent behavior. 🧐
Conclusion
The autofocus attribute is a valuable tool for enhancing the user experience in web forms. By automatically focusing on the password input field, you can streamline the form-filling process and guide the user’s attention effectively. Understanding its usage, syntax, and practical examples will help you create more user-friendly and efficient web applications.

