Introduction
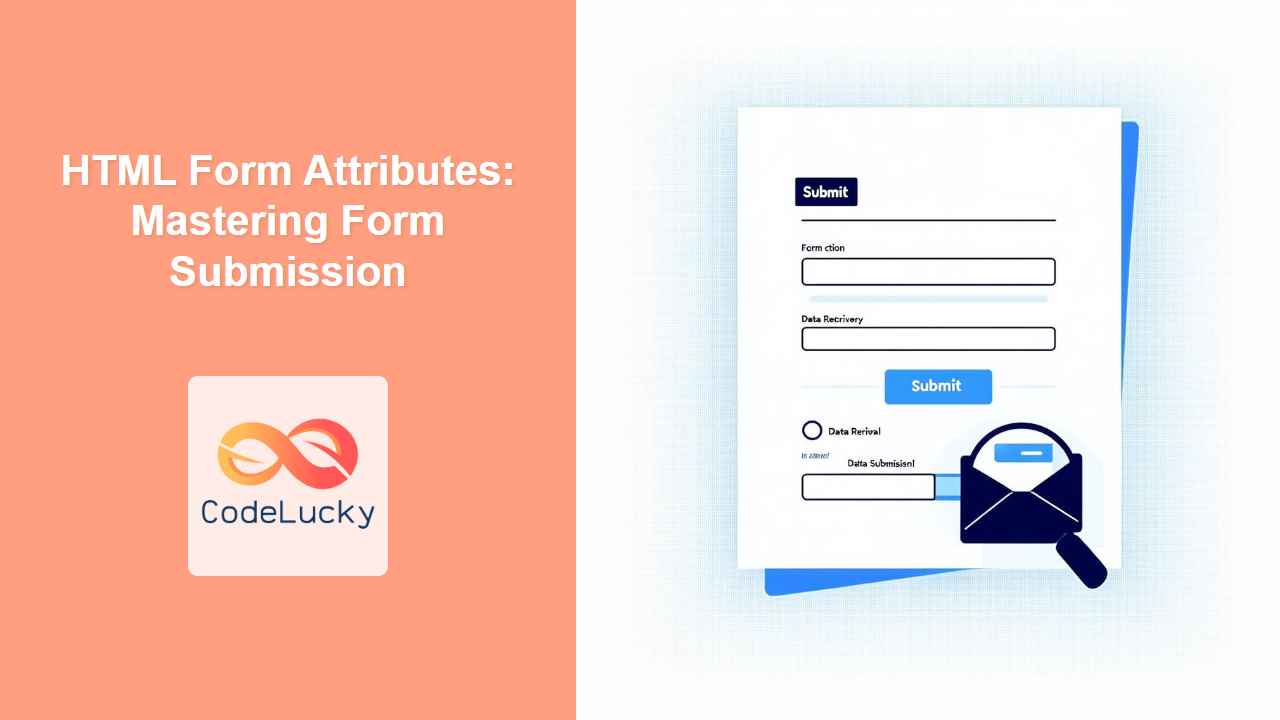
Forms are the backbone of user interaction on the web. They allow users to input data, which can then be processed and used by the server. But creating a form is more than just adding input fields. It also involves controlling how that form's data is submitted and handled. This is where HTML form attributes come into play. Understanding these attributes is critical for any web developer looking to build robust and secure applications. These attributes dictate the destination of form data, how it's sent, and how the submission process behaves.
In this article, we will explore the most crucial HTML form attributes, including action, method (GET and POST), target, autocomplete, and enctype. We will delve into each attribute, providing clear explanations, practical examples, and best practices. By mastering these attributes, you will be able to create forms that are not only functional but also user-friendly and secure. Understanding these attributes is not just about syntax; it's about creating a better web experience for your users.
Essential Form Attributes
HTML form attributes are settings within the <form> tag that control various aspects of form behavior. These attributes allow you to specify how a form should behave when a user submits it, where to send the data, and how to handle user input. Let's take a closer look at some of the most important form attributes.
The action Attribute
The action attribute specifies the URL where the form data will be sent when the form is submitted. It essentially tells the browser where to send the collected information for processing. This is a mandatory attribute for any working form, as without it, the browser doesn't know where to send the data. The action attribute can point to another HTML file, but it is more commonly configured to point to server-side scripts (e.g., PHP, Python, Node.js) that are set up to handle the submitted data.
<form action="/submit-form" method="post">
  <!-- Form elements go here -->
</form>
In the above example, the form data will be sent to /submit-form on the server. This URL should point to the endpoint where server-side code will process the data.
The method Attribute
The method attribute defines how the form data is sent to the server. The two primary methods are GET and POST. Understanding the difference between them is critical for designing secure and efficient forms.
GET Method
The GET method appends the form data to the URL as query parameters. This means that the data is visible in the browser's address bar. GET requests are generally used for retrieving data from the server, not for sending sensitive data.
For example, consider this HTML code:
<form action="/search" method="get">
  <input type="text" name="query" value="example">
  <button type="submit">Search</button>
</form>
When submitted, the url will be something like: /search?query=example, the form data query=example is visible in the URL.
When to use GET:
- When you are retrieving data from the server.
- When the amount of data being sent is small.
- When security is not a major concern.
- When you want the data to be bookmarkable or shareable via a link.
POST Method
The POST method sends the form data in the HTTP request body, not the URL. This makes the data not visible in the URL, which is a more secure way to transmit data, especially sensitive information such as passwords or large data sets. It’s used for sending data to the server to create or update resources.
<form action="/submit-data" method="post">
  <input type="text" name="username">
  <input type="password" name="password">
  <button type="submit">Submit</button>
</form>
When submitted with the POST method, the username and password will not be visible in the URL.
When to use POST:
- When you are sending data to the server to create or update resources.
- When the amount of data being sent is large.
- When security is a major concern.
- When you want to send sensitive data.
Key Differences Between GET and POST
The target Attribute
The target attribute specifies where to display the response after submitting the form. It accepts various values, including:
_self: Opens the response in the same tab/window. (default)_blank: Opens the response in a new tab/window._parent: Opens the response in the parent frame._top: Opens the response in the full body of the window.frameName: Opens the response in a named frame.
<form action="/submit-form" method="post" target="_blank">
  <!-- Form elements go here -->
  <button type="submit">Submit</button>
</form>
In this example, when the form is submitted, the response from /submit-form will be displayed in a new tab or window.
The autocomplete Attribute
The autocomplete attribute specifies whether the browser should automatically complete the input fields based on previous entries. It can be set to:
on: The browser can autocomplete the field.off: The browser should not autocomplete the field.
<form action="/login" method="post" autocomplete="on">
  <input type="text" name="username" autocomplete="username">
  <input type="password" name="password" autocomplete="current-password">
  <button type="submit">Login</button>
</form>
The autocomplete="username" and autocomplete="current-password" provide further specificity, allowing browsers to use the appropriate saved data for those fields.
While autocomplete="off" can prevent browsers from suggesting saved passwords, it's generally recommended to use specific values like username, email, or new-password, etc., to provide a better user experience while maintaining security.
The enctype Attribute
The enctype attribute specifies how form data should be encoded when it is submitted to the server. This is particularly important when dealing with file uploads. It has three main values:
application/x-www-form-urlencoded: Encodes all characters before sending (default, if not specified).multipart/form-data: Encodes each value as a separate part. Use when uploading files.text/plain: Sends data without encoding.
<form action="/upload" method="post" enctype="multipart/form-data">
  <input type="file" name="fileToUpload">
  <button type="submit">Upload</button>
</form>
It is important to set enctype to multipart/form-data when uploading files. If this is not specified, the file will not be sent properly to the server.
Practical Examples
Let's put these attributes to use with some practical examples.
User Registration Form
<form action="/register" method="post" autocomplete="on">
  <h2>User Registration</h2>
  <label for="name">Name:</label>
  <input type="text" id="name" name="name" required autocomplete="name"><br><br>

  <label for="email">Email:</label>
  <input type="email" id="email" name="email" required autocomplete="email"><br><br>

  <label for="password">Password:</label>
  <input type="password" id="password" name="password" required autocomplete="new-password"><br><br>

  <label for="confirm-password">Confirm Password:</label>
  <input type="password" id="confirm-password" name="confirm-password" required autocomplete="new-password"><br><br>

    <label for="profile-picture">Profile Picture:</label>
  <input type="file" id="profile-picture" name="profile-picture"><br><br>

  <button type="submit">Register</button>
</form>
This form collects user registration information securely, with autocomplete for improved user experience, and accepts an optional profile picture via file upload. enctype attribute is not specified here because the default value i.e. application/x-www-form-urlencoded works fine when we don't need file upload, but if you want to have file upload, then you have to use enctype="multipart/form-data". Also note the use of required attribute on the form elements, without this, the form can be submitted without the required fields.
Search Form
<form action="/search" method="get">
  <input type="text" name="query" placeholder="Search...">
  <button type="submit">Search</button>
</form>
This form uses the GET method because it's fetching data based on the user’s query and the search term will be visible in the URL.
Best Practices and Tips
- Always use
POSTfor sensitive data: Protect user information like passwords by using thePOSTmethod. - Use
autocompletewisely: Enableautocompletefor fields where it enhances the user experience, like addresses and names, while disabling it for sensitive fields like passwords if required. Specific autocompletion types are recommended where applicable. - Validate server-side: Don't rely solely on client-side validation. Always validate form data on the server to ensure data integrity and security.
- Set a clear
action: Make sure the action attribute correctly points to your server-side script. Double check the URL before deployment to ensure smooth functioning. - Choose the correct
enctype: Usemultipart/form-datafor file uploads, otherwise default is ok. - Properly use the
targetattribute: Use_blankto open a response in new tab if that is required for user experience.
Conclusion
Understanding HTML form attributes is crucial for building interactive and secure web applications. The action, method, target, autocomplete, and enctype attributes provide the necessary control over form submission and data handling. By implementing these attributes effectively and following best practices, you will be able to create forms that are not only functional but also user-friendly and secure. This knowledge will be invaluable as you continue your journey in web development and will help you build better, safer, and more effective web applications.

