HTML DOM Nav Object: Accessing Navigation Elements
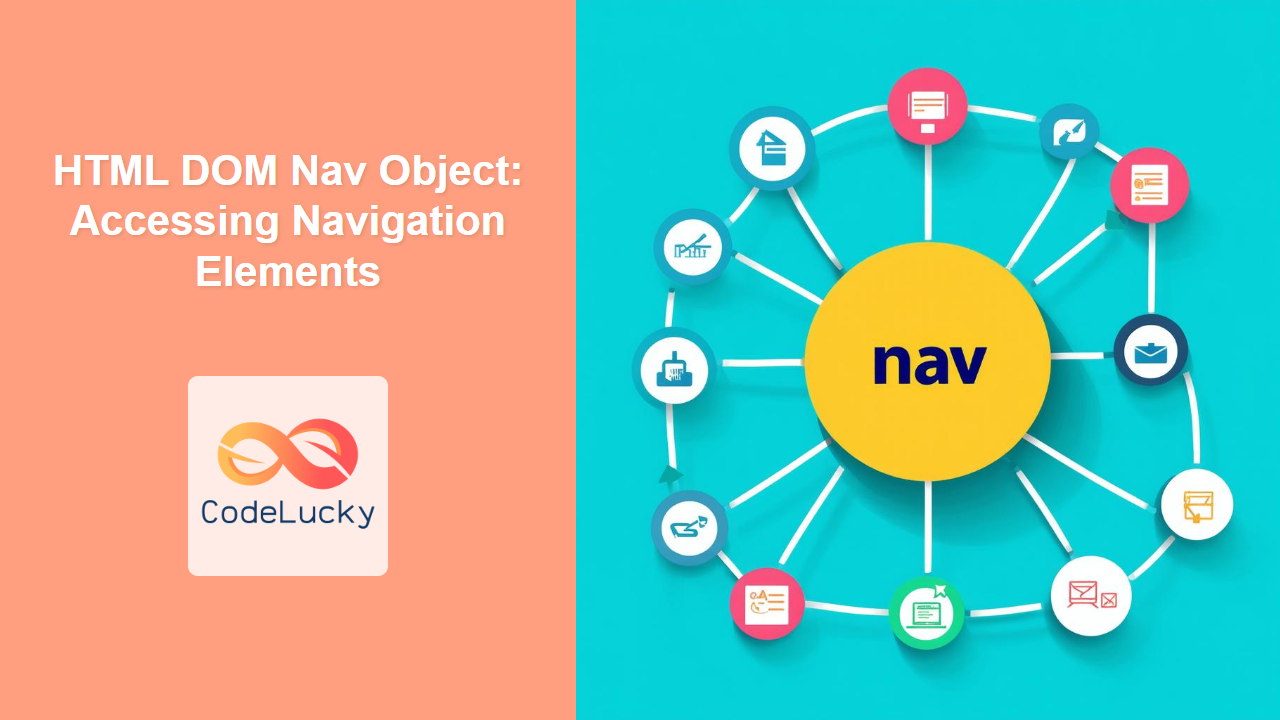
The HTML DOM Nav object represents the <nav> element in HTML. The <nav> element is used to define a section of navigation links, commonly used for site navigation menus, table of contents, and other navigation aids. This guide will walk you through accessing and manipulating <nav> elements using the HTML DOM Nav object with JavaScript.
What is the HTML <nav> element?
The <nav> element is a semantic HTML tag that marks a section of navigation links on a webpage. It is essential for structuring web content and making it more accessible to users and search engines. A typical navigation section contains links to different parts of the website.
Purpose of the Nav Object
The Nav object allows you to:
- Access
<nav>elements in the DOM. - Read and modify attributes of
<nav>elements. - Manipulate the content of
<nav>elements dynamically. - Add, remove, or modify navigation links.
- Style navigation elements with CSS through the DOM.
Accessing the <nav> Element
To start working with a <nav> element, you first need to access it using JavaScript. You can do this using methods like document.getElementById(), document.querySelector(), or document.getElementsByTagName().
Let’s look at a basic example of accessing a <nav> element and changing its content:
<nav id="mainNav">
  <ul>
    <li><a href="#">Home</a></li>
    <li><a href="#">About</a></li>
    <li><a href="#">Services</a></li>
    <li><a href="#">Contact</a></li>
  </ul>
</nav>

<button id="changeNavButton">Change Navigation</button>

<script>
  const navElement = document.getElementById('mainNav');
  const changeButton = document.getElementById('changeNavButton');

  changeButton.addEventListener('click', function () {
    navElement.innerHTML = `
        <ul>
            <li><a href="#">Dashboard</a></li>
            <li><a href="#">Settings</a></li>
            <li><a href="#">Profile</a></li>
        </ul>
    `;
  });
</script>
In this example:
- We have a
<nav>element with the IDmainNav. - We use
document.getElementById('mainNav')to access this element. - We use
innerHTMLto change the content of thenavelement when the button is clicked.
Important Properties and Methods of the Nav Object
Here are some key properties and methods associated with the Nav object:
| Property/Method | Type | Description |
|---|---|---|
id |
String | The unique identifier of the <nav> element. |
className |
String | Gets or sets the class name(s) of the <nav> element. |
innerHTML |
String | Gets or sets the HTML content of the <nav> element. |
textContent |
String | Gets or sets the text content of the <nav> element. |
style |
Object | Gets or sets the inline style of the <nav> element. |
getAttribute(name) |
Function | Returns the value of the attribute with the specified name. |
setAttribute(name, value) |
Function | Sets the value of the attribute with the specified name. |
addEventListener(event, function) |
Function | Attaches an event handler to the <nav> element. |
remove() |
Function | Removes the <nav> element from the DOM. |
Note: The Nav object inherits many properties and methods from the HTMLElement interface. 💡
Practical Examples
Let’s explore some practical examples to understand how to use the Nav object in different scenarios.
Example 1: Adding a CSS class to a <nav> element
In this example, we will add a CSS class named “highlight” to our navigation menu when a button is clicked. This is useful for highlighting the current navigation section.
<nav id="navMenu">
    <ul>
        <li><a href="#">Home</a></li>
        <li><a href="#">Products</a></li>
        <li><a href="#">About Us</a></li>
    </ul>
</nav>

<button id="highlightButton">Highlight Navigation</button>

<style>
    .highlight {
        background-color: #e0e0e0;
        padding: 10px;
    }
</style>

<script>
    const navMenuElement = document.getElementById('navMenu');
    const highlightBtn = document.getElementById('highlightButton');

    highlightBtn.addEventListener('click', function() {
        navMenuElement.classList.toggle('highlight');
    });
</script>
In this example:
- We have a
<nav>element with the IDnavMenu. - We added a button with an id
highlightButton - We add an event listener to this button to trigger the highlight.
- We use the
classList.toggle('highlight')method to toggle the CSS class “highlight” on the<nav>element.
Example 2: Changing the Style of a <nav> element
Let’s demonstrate how to change the style of a <nav> element directly using its style property. This example changes the background color of the navigation when a button is clicked.
<nav id="navStyle">
  <ul>
    <li><a href="#">Home</a></li>
    <li><a href="#">Blog</a></li>
    <li><a href="#">Contact</a></li>
  </ul>
</nav>

<button id="changeStyleButton">Change Style</button>

<script>
  const navStyleElement = document.getElementById('navStyle');
  const styleButton = document.getElementById('changeStyleButton');

  styleButton.addEventListener('click', function () {
    navStyleElement.style.backgroundColor = 'lightgreen';
    navStyleElement.style.padding = '15px';
    navStyleElement.style.borderRadius = '5px';
  });
</script>
In this example:
- We select
<nav>element by itsid - We add a click event handler to a button to change the style of the
<nav>using style attribute.
Example 3: Adding a New Navigation Item
This example shows how to add a new item to the navigation menu dynamically:
<nav id="navAdd">
  <ul>
    <li><a href="#">Home</a></li>
    <li><a href="#">Articles</a></li>
  </ul>
</nav>

<button id="addItemButton">Add Navigation Item</button>

<script>
  const navAddElement = document.getElementById('navAdd');
  const addButton = document.getElementById('addItemButton');

  addButton.addEventListener('click', function () {
    const newLi = document.createElement('li');
    const newA = document.createElement('a');
    newA.href = '#';
    newA.textContent = 'New Item';
    newLi.appendChild(newA);
    navAddElement.querySelector('ul').appendChild(newLi);
  });
</script>
In this example:
- We use
document.createElement()to create newliandaelements - We then append this element to the
ultag of thenavelement
Example 4: Removing a Navigation Item
Here’s an example of how to remove a specific navigation item:
<nav id="navRemove">
    <ul>
        <li id="item1"><a href="#">Item 1</a></li>
        <li id="item2"><a href="#">Item 2</a></li>
        <li id="item3"><a href="#">Item 3</a></li>
    </ul>
</nav>

<button id="removeItemButton">Remove Item</button>

<script>
    const navRemoveElement = document.getElementById('navRemove');
    const removeBtn = document.getElementById('removeItemButton');

    removeBtn.addEventListener('click', function() {
        const itemToRemove = document.getElementById('item2');
        if(itemToRemove) {
            itemToRemove.remove();
        }
    });
</script>
In this example:
- We have
<nav>element with somelitags. - We have a button with an id
removeItemButton - We add event handler to the button to remove specific list item from the nav.
- We use
remove()method to remove the item from the DOM.
Example 5: Handling Mouse Events on Navigation
Let’s demonstrate how to handle mouse events on navigation items. This will show how to change the background color of a nav item when you hover over it.
<nav id="navEvent">
    <ul>
        <li class="nav-item"><a href="#">Home</a></li>
        <li class="nav-item"><a href="#">About</a></li>
        <li class="nav-item"><a href="#">Services</a></li>
        <li class="nav-item"><a href="#">Contact</a></li>
    </ul>
</nav>

<style>
    .nav-item a {
        display: block;
        padding: 10px;
        text-decoration: none;
        color: black;
    }
    .nav-item a:hover {
        background-color: lightblue;
    }
</style>

<script>
  const navEventElement = document.getElementById('navEvent');
    navEventElement.addEventListener('mouseover', function(event){
        if (event.target.tagName === 'A') {
            event.target.style.backgroundColor = 'lightyellow';
        }
    });
   navEventElement.addEventListener('mouseout', function(event){
        if (event.target.tagName === 'A') {
            event.target.style.backgroundColor = '';
        }
    });
</script>
In this example:
- We have a
<nav>with somelielements. - We have added mouseover and mouseout event listener to each of the
atag inside thenav. - We set specific
background-coloron mouseover and remove it inmouseoutevent.
Note: When handling events on dynamic content inside the navigation, use event delegation on parent nav element to catch all the events correctly. 🧐
Real-World Applications
The Nav object is used in many ways to enhance user navigation:
- Dynamic Navigation Menus: Creating menus that change based on user interaction or application state.
- Responsive Navigation: Adjusting navigation layouts for different screen sizes.
- Highlighting Current Page: Dynamically highlighting the active link in the navigation.
- Accessibility Improvements: Making navigation more accessible through ARIA attributes and keyboard navigation.
- Single-Page Applications (SPAs): Managing navigation without full page reloads.
Browser Support
The Nav object is well-supported by all modern web browsers. You can confidently use it in your web development projects, knowing that it will work consistently across various platforms.
Conclusion
The HTML DOM Nav object is crucial for programmatically interacting with <nav> elements, enabling developers to create dynamic and interactive navigation experiences. This guide has provided a comprehensive overview of the Nav object, its properties, methods, and practical examples, and we hope it will empower you to take full advantage of it in your web development projects. Happy coding!
“`

