HTML Canvas createRadialGradient() Method: Creating Radial Gradients
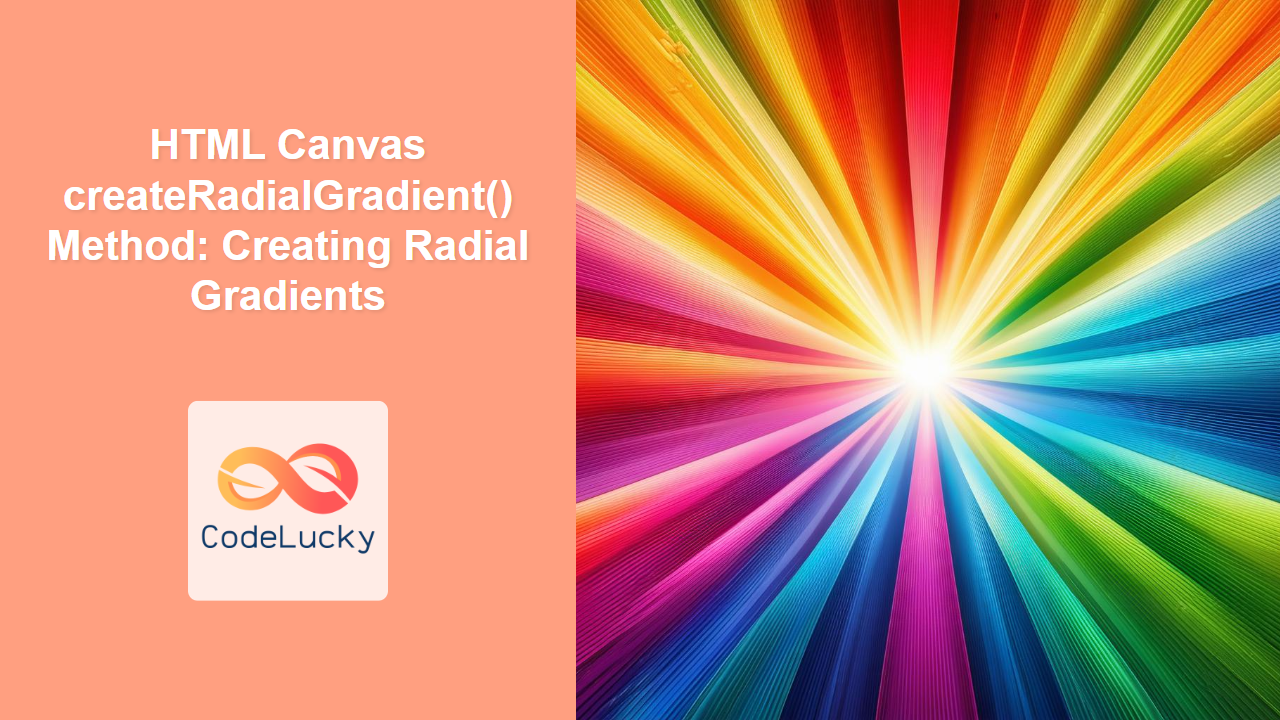
The HTML Canvas createRadialGradient() method is a powerful tool for creating visually appealing effects by applying radial gradients to shapes or text on a canvas. A radial gradient transitions colors from a starting circle to a destination circle. Understanding how to use this method can significantly enhance the visual depth and sophistication of your canvas graphics. This article will guide you through the syntax, attributes, and practical uses of createRadialGradient().
What is a Radial Gradient?
A radial gradient is a color transition that radiates outward from a central point. Unlike linear gradients that follow a straight line, radial gradients create circular or elliptical blends. This method provides a way to produce visually complex effects, like spotlights, smooth color transitions, and organic shapes.
Purpose of createRadialGradient()
The primary purpose of the createRadialGradient() method is to:
- Create a radial gradient object.
- Define the starting and ending circles of the gradient.
- Specify color stops within the gradient.
- Use the gradient as a fill or stroke style on the canvas.
Understanding the Syntax
The createRadialGradient() method is called on the 2D rendering context of a canvas element. It takes six parameters:
ctx.createRadialGradient(x0, y0, r0, x1, y1, r1);
Where:
x0: The x-coordinate of the starting circle's center.y0: The y-coordinate of the starting circle's center.r0: The radius of the starting circle.x1: The x-coordinate of the ending circle's center.y1: The y-coordinate of the ending circle's center.r1: The radius of the ending circle.
This method returns a CanvasGradient object.
CanvasGradient Object
The CanvasGradient object has only one method that is of particular interest:
addColorStop(offset, color): Adds a new color stop to the gradient.offset: A number between 0.0 and 1.0, representing the position of the color stop within the gradient. 0.0 is the start circle and 1.0 is the end circle.color: The color to apply at this color stop, which can be a valid CSS color string.
| Method | Type | Description |
|---|---|---|
createRadialGradient(x0, y0, r0, x1, y1, r1) |
Function | Creates and returns a radial gradient object. |
addColorStop(offset, color) |
Function | Adds a new color stop to the gradient at the specified offset and color. |
Note: The starting and ending circles do not necessarily have to be of the same radius or even centered at the same point. This provides great flexibility in creating diverse radial effects. 💡
Basic Examples of createRadialGradient()
Let's dive into some practical examples to see how createRadialGradient() works in action.
Simple Radial Gradient
In this example, we create a simple radial gradient from a small circle to a larger circle, both centered at the same point.
<canvas
  id="canvasRadial1"
  width="200"
  height="150"
  style="border: 1px solid black;"
></canvas>

<script>
//<![CDATA[

  const canvas1 = document.getElementById("canvasRadial1");
  const ctx1 = canvas1.getContext("2d");

  // Create radial gradient
  const gradient1 = ctx1.createRadialGradient(
    100,
    75,
    10,
    100,
    75,
    70
  );
  gradient1.addColorStop(0, "red");
  gradient1.addColorStop(1, "blue");

  ctx1.fillStyle = gradient1;
  ctx1.fillRect(0, 0, 200, 150);

//]]]]><![CDATA[>
</script>
Off-Center Radial Gradient
Here, the starting and ending circles are not centered at the same point, resulting in an elliptical effect.
<canvas
  id="canvasRadial2"
  width="200"
  height="150"
  style="border: 1px solid black;"
></canvas>

<script>
//<![CDATA[

  const canvas2 = document.getElementById("canvasRadial2");
  const ctx2 = canvas2.getContext("2d");

  // Create radial gradient with off-center circles
  const gradient2 = ctx2.createRadialGradient(
    50,
    75,
    10,
    150,
    75,
    70
  );
  gradient2.addColorStop(0, "yellow");
  gradient2.addColorStop(1, "green");

  ctx2.fillStyle = gradient2;
  ctx2.fillRect(0, 0, 200, 150);

//]]]]><![CDATA[>
</script>
Multiple Color Stops
This example shows how to add multiple color stops to the gradient for more complex transitions.
<canvas
  id="canvasRadial3"
  width="200"
  height="150"
  style="border: 1px solid black;"
></canvas>

<script>
//<![CDATA[

  const canvas3 = document.getElementById("canvasRadial3");
  const ctx3 = canvas3.getContext("2d");

  // Create a radial gradient with multiple color stops
  const gradient3 = ctx3.createRadialGradient(
    100,
    75,
    10,
    100,
    75,
    70
  );
  gradient3.addColorStop(0, "red");
  gradient3.addColorStop(0.3, "orange");
  gradient3.addColorStop(0.6, "yellow");
  gradient3.addColorStop(1, "green");

  ctx3.fillStyle = gradient3;
  ctx3.fillRect(0, 0, 200, 150);

//]]]]><![CDATA[>
</script>
Practical Usage
Applying to Shapes
Radial gradients are not limited to filling rectangles, they can also be used on other shapes. Let's see an example of applying it to a circle.
<canvas
  id="canvasRadial4"
  width="200"
  height="150"
  style="border: 1px solid black;"
></canvas>

<script>
//<![CDATA[

  const canvas4 = document.getElementById("canvasRadial4");
  const ctx4 = canvas4.getContext("2d");

  // Create radial gradient
  const gradient4 = ctx4.createRadialGradient(
    100,
    75,
    10,
    100,
    75,
    70
  );
  gradient4.addColorStop(0, "white");
  gradient4.addColorStop(1, "gray");

  ctx4.beginPath();
  ctx4.arc(100, 75, 60, 0, 2 * Math.PI);
  ctx4.fillStyle = gradient4;
  ctx4.fill();

//]]]]><![CDATA[>
</script>
Applying to Text
Radial gradients can also enhance text elements.
<canvas
  id="canvasRadial5"
  width="300"
  height="150"
  style="border: 1px solid black;"
></canvas>

<script>
//<![CDATA[

  const canvas5 = document.getElementById("canvasRadial5");
  const ctx5 = canvas5.getContext("2d");

  // Create radial gradient
  const gradient5 = ctx5.createRadialGradient(
    150,
    75,
    10,
    150,
    75,
    80
  );
  gradient5.addColorStop(0, "lightblue");
  gradient5.addColorStop(1, "darkblue");

  ctx5.font = "40px Arial";
  ctx5.fillStyle = gradient5;
  ctx5.fillText("Radial Text", 50, 85);

//]]]]><![CDATA[>
</script>
Using Different Radii
Different start and end radii can create interesting effects.
<canvas
id="canvasRadial6"
width="200"
height="150"
style="border: 1px solid black;"
></canvas>
<script>
//<![CDATA[
const canvas6 = document.getElementById("canvasRadial6");
const ctx6 = canvas6.getContext("2d");
// Create radial gradient with different radii
const gradient6 = ctx6.createRadialGradient(
100,
75,
30,
100,
75,
10
);
gradient6.addColorStop(0, "pink");
gradient6.addColorStop(1, "purple");
ctx6.fillStyle = gradient6;
ctx6.fillRect(0, 0, 200, 150);
//]]]]><
