Welcome back to our “DevOps from Scratch” series! In our previous posts, we’ve explored the fundamentals of DevOps, Git workflows, and Continuous Integration. Today, we’re taking the next logical step in our DevOps journey by diving into Continuous Deployment (CD). We’ll explore what CD is, why it’s crucial, and how to implement it effectively to achieve rapid, reliable software releases.
Understanding Continuous Deployment
Continuous Deployment (CD) is a software release process that uses automated testing to validate if changes to a codebase are correct and stable for immediate autonomous deployment to a production environment. It’s an extension of Continuous Integration (CI) and Continuous Delivery.
Here’s a quick refresher on these related concepts:
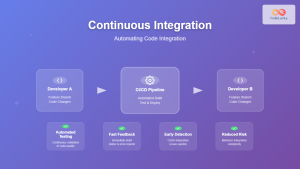
- Continuous Integration (CI): Developers frequently merge code changes into a central repository where automated builds and tests run.
- Continuous Delivery: An extension of CI where the software can be released to production at any time, typically with a manual approval step.
- Continuous Deployment: Goes one step further by automatically deploying every change that passes the automated tests to production.
Key Benefits of CD:
- Faster Time-to-Market: New features and bug fixes reach users quickly.
- Reduced Risk: Small, incremental changes are easier to troubleshoot.
- Continuous Feedback: Rapid deployment allows for quick user feedback.
- Improved Developer Productivity: Developers can focus on coding rather than complex deployment processes.
- Higher Quality Releases: Automated testing catches issues before they reach production.
Essential Components of a CD Pipeline
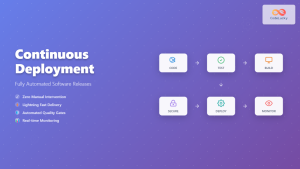
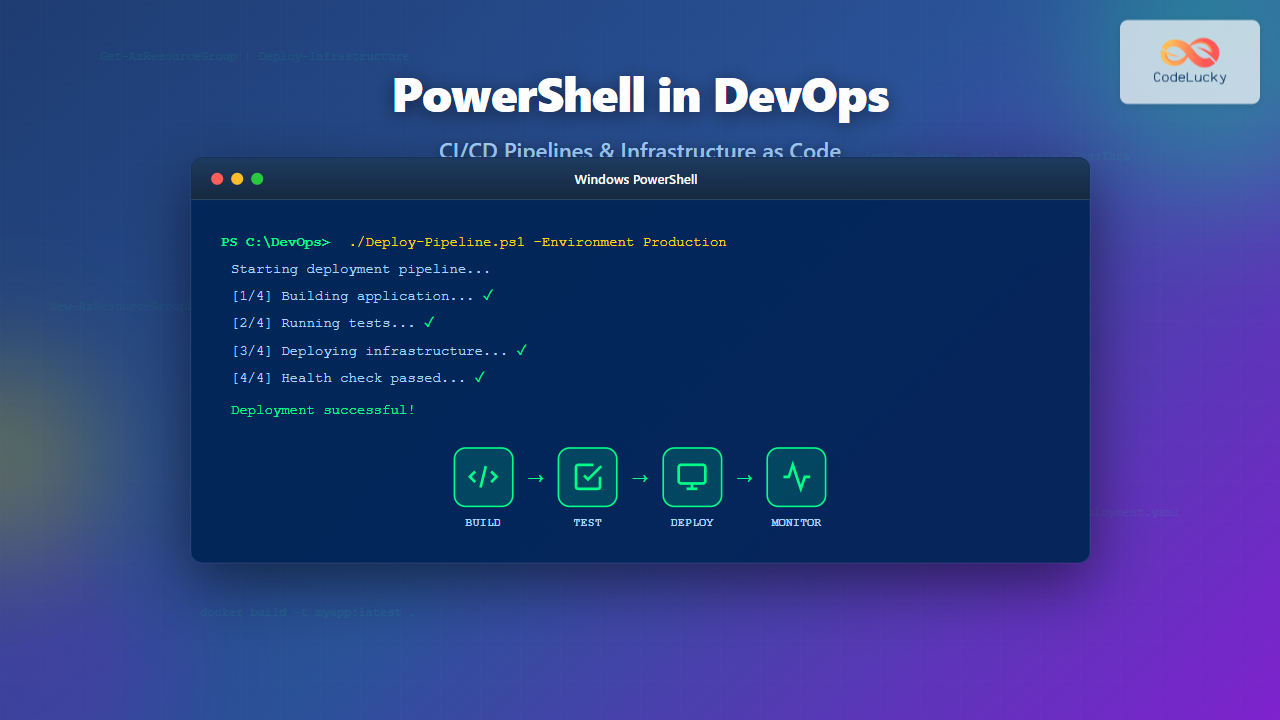
A typical CD pipeline builds upon the CI pipeline we discussed in the previous post, adding several crucial stages:
- Code Commit and CI Stages: (As discussed in the previous post)
- Artifact Storage: Store the built and tested application for deployment.
- Staging Deployment: Deploy to a production-like environment for final testing.
- Production Deployment: Automatically deploy to production if all tests pass.
- Post-Deployment Tests: Verify the deployment’s success with smoke tests or canary releases.
- Monitoring and Feedback: Continuously monitor the application and gather user feedback.
Let’s look at how to implement these stages using popular tools.
Implementing CD with Popular Tools
GitHub Actions for CD
Building on our CI workflow from the last post, let’s extend it to include CD:
- Update the Workflow File:
Modify.github/workflows/ci-cd.yml:name: CI/CD on: push: branches: [main] jobs: build-and-test: runs-on: ubuntu-latest steps: - uses: actions/checkout@v2 - name: Use Node.js uses: actions/setup-node@v2 with: node-version: '14' - run: npm ci - run: npm run build - run: npm test - run: npm run lint deploy-staging: needs: build-and-test runs-on: ubuntu-latest steps: - uses: actions/checkout@v2 - name: Deploy to Staging run: | # Add your staging deployment script here echo "Deploying to staging..." deploy-production: needs: deploy-staging runs-on: ubuntu-latest steps: - uses: actions/checkout@v2 - name: Deploy to Production run: | # Add your production deployment script here echo "Deploying to production..." post-deployment-tests: needs: deploy-production runs-on: ubuntu-latest steps: - name: Run Smoke Tests run: | # Add your smoke tests here echo "Running smoke tests..." - Set Up Secrets:
Store any necessary deployment credentials (e.g., server SSH keys) as secrets in your GitHub repository settings. - Implement Deployment Scripts:
Replace the echo commands with actual deployment scripts. These could use tools likesshandrsyncfor simple deployments, or more advanced tools like Ansible or Terraform for complex infrastructures.
GitLab CI/CD for Continuous Deployment
GitLab’s built-in CI/CD can be easily extended for CD. Here’s an example .gitlab-ci.yml:
stages:
  - build
  - test
  - deploy_staging
  - deploy_production
  - post_deployment

build:
  stage: build
  script:
    - npm ci
    - npm run build
  artifacts:
    paths:
      - dist/

test:
  stage: test
  script:
    - npm test
    - npm run lint

deploy_staging:
  stage: deploy_staging
  script:
    - echo "Deploying to staging..."
    # Add your staging deployment script here
  environment:
    name: staging

deploy_production:
  stage: deploy_production
  script:
    - echo "Deploying to production..."
    # Add your production deployment script here
  environment:
    name: production
  when: manual  # Requires manual approval

post_deployment_tests:
  stage: post_deployment
  script:
    - echo "Running smoke tests..."
    # Add your post-deployment tests here
Jenkins for CD
For Jenkins, we can extend our Jenkinsfile to include deployment stages:
pipeline {
    agent any
    stages {
        stage('Build') {
            steps {
                sh 'npm ci'
                sh 'npm run build'
            }
        }
        stage('Test') {
            steps {
                sh 'npm test'
                sh 'npm run lint'
            }
        }
        stage('Deploy to Staging') {
            steps {
                sh 'echo "Deploying to staging..."'
                // Add your staging deployment script here
            }
        }
        stage('Deploy to Production') {
            steps {
                input message: 'Deploy to production?'
                sh 'echo "Deploying to production..."'
                // Add your production deployment script here
            }
        }
        stage('Post-Deployment Tests') {
            steps {
                sh 'echo "Running smoke tests..."'
                // Add your post-deployment tests here
            }
        }
    }
}
Advanced CD Techniques
As you mature your CD practices, consider implementing these advanced techniques:
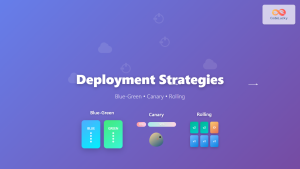
1. Blue-Green Deployments
Blue-green deployment is a technique that reduces downtime and risk by running two identical production environments called Blue and Green.
Here’s a simplified example using AWS EC2 instances and an Elastic Load Balancer (ELB):
# Deploy to the new "Green" environment
ansible-playbook deploy.yml -e "hosts=green"

# Run smoke tests on Green
./run_smoke_tests.sh green

# Switch traffic to Green
aws elb register-instances-with-load-balancer --load-balancer-name my-elb --instances $(aws ec2 describe-instances --filters "Name=tag:Environment,Values=green" --query "Reservations[].Instances[].InstanceId" --output text)
aws elb deregister-instances-from-load-balancer --load-balancer-name my-elb --instances $(aws ec2 describe-instances --filters "Name=tag:Environment,Values=blue" --query "Reservations[].Instances[].InstanceId" --output text)

# Old "Blue" becomes the new "Green" for next deployment
ansible-playbook tag_instances.yml -e "old=blue new=green"
2. Canary Releases
Canary releases involve rolling out changes to a small subset of users before deploying to the entire user base.
Here’s an example using Kubernetes:
apiVersion: argoproj.io/v1alpha1
kind: Rollout
metadata:
  name: myapp-rollout
spec:
  replicas: 5
  strategy:
    canary:
      steps:
      - setWeight: 20
      - pause: {duration: 1h}
      - setWeight: 40
      - pause: {duration: 1h}
      - setWeight: 60
      - pause: {duration: 1h}
      - setWeight: 80
      - pause: {duration: 1h}
  revisionHistoryLimit: 2
  selector:
    matchLabels:
      app: myapp
  template:
    metadata:
      labels:
        app: myapp
    spec:
      containers:
      - name: myapp
        image: myapp:v1
        ports:
        - name: http
          containerPort: 8080
          protocol: TCP
3. Feature Flags
Feature flags allow you to toggle features on and off without deploying new code. Here’s a simple example in Node.js:
const flagsmith = require('flagsmith-nodejs');

flagsmith.init({
    environmentID: "YOUR_ENVIRONMENT_KEY"
});

app.get('/api/new-feature', (req, res) => {
    if (flagsmith.hasFeature("new_feature")) {
        // New feature code
        res.send("New feature is enabled!");
    } else {
        // Old feature code
        res.send("New feature is not enabled.");
    }
});
Best Practices for Continuous Deployment
- Automate Everything: From builds to tests to deployments, automation is key.
- Use Infrastructure as Code: Define your infrastructure using tools like Terraform or CloudFormation.
- Implement Robust Monitoring: Use tools like Prometheus and Grafana to monitor your application and infrastructure.
- Practice Chaos Engineering: Regularly test your system’s resilience to failures.
- Embrace Feature Flags: Use feature flags to safely roll out and roll back features.
- Maintain a Comprehensive Test Suite: Ensure you have unit tests, integration tests, and end-to-end tests.
- Keep Your Deployments Small: Smaller deployments are easier to troubleshoot and roll back if necessary.
- Have a Rollback Strategy: Always have a plan (and ideally, an automated process) for rolling back changes.
Real-world CD Pipeline Example
Let’s look at a more comprehensive CD pipeline for a Node.js application deployed to AWS:
name: CI/CD Pipeline
on:
  push:
    branches: [main]

jobs:
  build-and-test:
    runs-on: ubuntu-latest
    steps:
    - uses: actions/checkout@v2
    - name: Use Node.js
      uses: actions/setup-node@v2
      with:
        node-version: '14'
    - run: npm ci
    - run: npm run build
    - run: npm test
    - uses: actions/upload-artifact@v2
      with:
        name: dist
        path: dist

  deploy-to-staging:
    needs: build-and-test
    runs-on: ubuntu-latest
    steps:
    - uses: actions/checkout@v2
    - uses: actions/download-artifact@v2
      with:
        name: dist
    - name: Configure AWS credentials
      uses: aws-actions/configure-aws-credentials@v1
      with:
        aws-access-key-id: ${{ secrets.AWS_ACCESS_KEY_ID }}
        aws-secret-access-key: ${{ secrets.AWS_SECRET_ACCESS_KEY }}
        aws-region: us-east-2
    - name: Deploy to Staging
      run: |
        aws s3 sync dist/ s3://my-staging-bucket --delete
        aws cloudfront create-invalidation --distribution-id ${{ secrets.STAGING_DISTRIBUTION_ID }} --paths "/*"

  run-integration-tests:
    needs: deploy-to-staging
    runs-on: ubuntu-latest
    steps:
    - uses: actions/checkout@v2
    - name: Run Integration Tests
      run: |
        npm install
        npm run test:integration

  deploy-to-production:
    needs: run-integration-tests
    runs-on: ubuntu-latest
    steps:
    - uses: actions/checkout@v2
    - uses: actions/download-artifact@v2
      with:
        name: dist
    - name: Configure AWS credentials
      uses: aws-actions/configure-aws-credentials@v1
      with:
        aws-access-key-id: ${{ secrets.AWS_ACCESS_KEY_ID }}
        aws-secret-access-key: ${{ secrets.AWS_SECRET_ACCESS_KEY }}
        aws-region: us-east-2
    - name: Deploy to Production
      run: |
        aws s3 sync dist/ s3://my-production-bucket --delete
        aws cloudfront create-invalidation --distribution-id ${{ secrets.PRODUCTION_DISTRIBUTION_ID }} --paths "/*"

  run-smoke-tests:
    needs: deploy-to-production
    runs-on: ubuntu-latest
    steps:
    - uses: actions/checkout@v2
    - name: Run Smoke Tests
      run: |
        npm install
        npm run test:smoke

  monitor-and-rollback:
    needs: run-smoke-tests
    runs-on: ubuntu-latest
    steps:
    - name: Monitor Application Health
      run: |
        # Add health check logic here
        echo "Monitoring application health..."
    - name: Rollback if Necessary
      if: failure()
      run: |
        # Add rollback logic here
        echo "Rolling back deployment..."
This pipeline demonstrates several advanced concepts:
- Artifact passing between jobs
- Staged deployments (staging and production)
- Integration and smoke testing
- Use of AWS S3 and CloudFront for deployment
- Post-deployment monitoring and automated rollback
Conclusion: Continuous Deployment as the Pinnacle of DevOps
Continuous Deployment represents the pinnacle of DevOps practices, enabling organizations to deliver value to users rapidly and reliably. By automating the entire software delivery process, from code commit to production deployment, CD minimizes human error, reduces time-to-market, and allows for continuous feedback and improvement.
As you implement CD in your projects, remember that it’s a journey that requires a strong foundation in Continuous Integration, comprehensive automated testing, and a culture that embraces automation and continuous improvement. Start with small, low-risk deployments and gradually expand as you build confidence in your processes and tools.
In our next post, we’ll explore how to measure and optimize your DevOps processes, looking at key metrics and strategies for continuous improvement. Stay tuned!
We’d love to hear about your experiences with Continuous Deployment! What challenges have you faced in implementing CD? What strategies have you found most effective for ensuring reliable deployments? Share your stories and tips in the comments below!

