
You have an app idea. Maybe it is a habit tracker, a tip calculator, or something nobody has built yet. The gap between that idea and a working app on your phone feels enormous when you have never written a line of mobile code. The good news is that the path to build your first Android app in 2026 is shorter and friendlier than it has ever been, thanks to modern tools, a cleaner language, and a UI toolkit that lets you describe screens in plain code.
This guide walks you through the entire journey: setting up your tools, understanding how an app is actually put together, writing real Kotlin code, and running it on a real device. No prior mobile experience is assumed, but if you already know a little programming, you will move faster.
What It Takes to Build Your First Android App
Android app development is the process of writing software that runs on devices powered by Google’s Android operating system, typically using the Kotlin programming language, the Android Studio editor, and a UI toolkit such as Jetpack Compose. You write code that defines screens and logic, compile it into an installable package, and run it on a phone or emulator.
In 2026, three pieces of the stack matter most. Kotlin is the recommended language for new apps. Android Studio is the official editor where you write, run, and debug code. And Jetpack Compose is the modern way to build user interfaces using composable functions instead of older XML layout files.
You do not need an expensive computer or a paid developer account to get started. A machine with 8 GB of RAM (16 GB is more comfortable) and a free account are enough to write and test apps. You only pay the one-time Google Play registration fee when you are ready to publish to the store.
Setting Up Your Android Development Environment
Everything you need lives inside one download. Head to the official Android Studio download page and grab the latest stable release for your operating system. The installer bundles the editor, the Android SDK (the libraries your app compiles against), and an emulator for testing.
During the setup wizard, choose the Standard installation. It downloads sensible defaults: the latest SDK platform, the build tools, and a system image for the emulator. This first download is the largest one you will face, so let it finish before moving on.
Once Android Studio opens, confirm three things are ready:
- SDK Manager — under
Settings > Languages & Frameworks > Android SDK, make sure at least one recent API level is installed. - Device Manager — create a virtual device (an emulator) such as a Pixel phone, or plug in a physical phone with USB debugging enabled.
- JDK — Android Studio ships with its own Java Development Kit, so you usually do not install one separately.
Tip: If your laptop struggles to run the emulator, test on a real phone instead. Enable Developer Options by tapping the build number seven times in Settings, then turn on USB debugging. A physical device is faster and shows you how the app truly feels.
Understanding the Building Blocks of an Android App
Before you write code, it helps to know the vocabulary. An Android app is not one giant file. It is a collection of components that the system starts and stops as the user navigates.
Activities and the entry point
An Activity represents a single screen and serves as an entry point into your app. Most beginner apps start life with one activity, usually named MainActivity. When the user taps your icon, Android launches this activity, which then draws your interface.
Composable functions
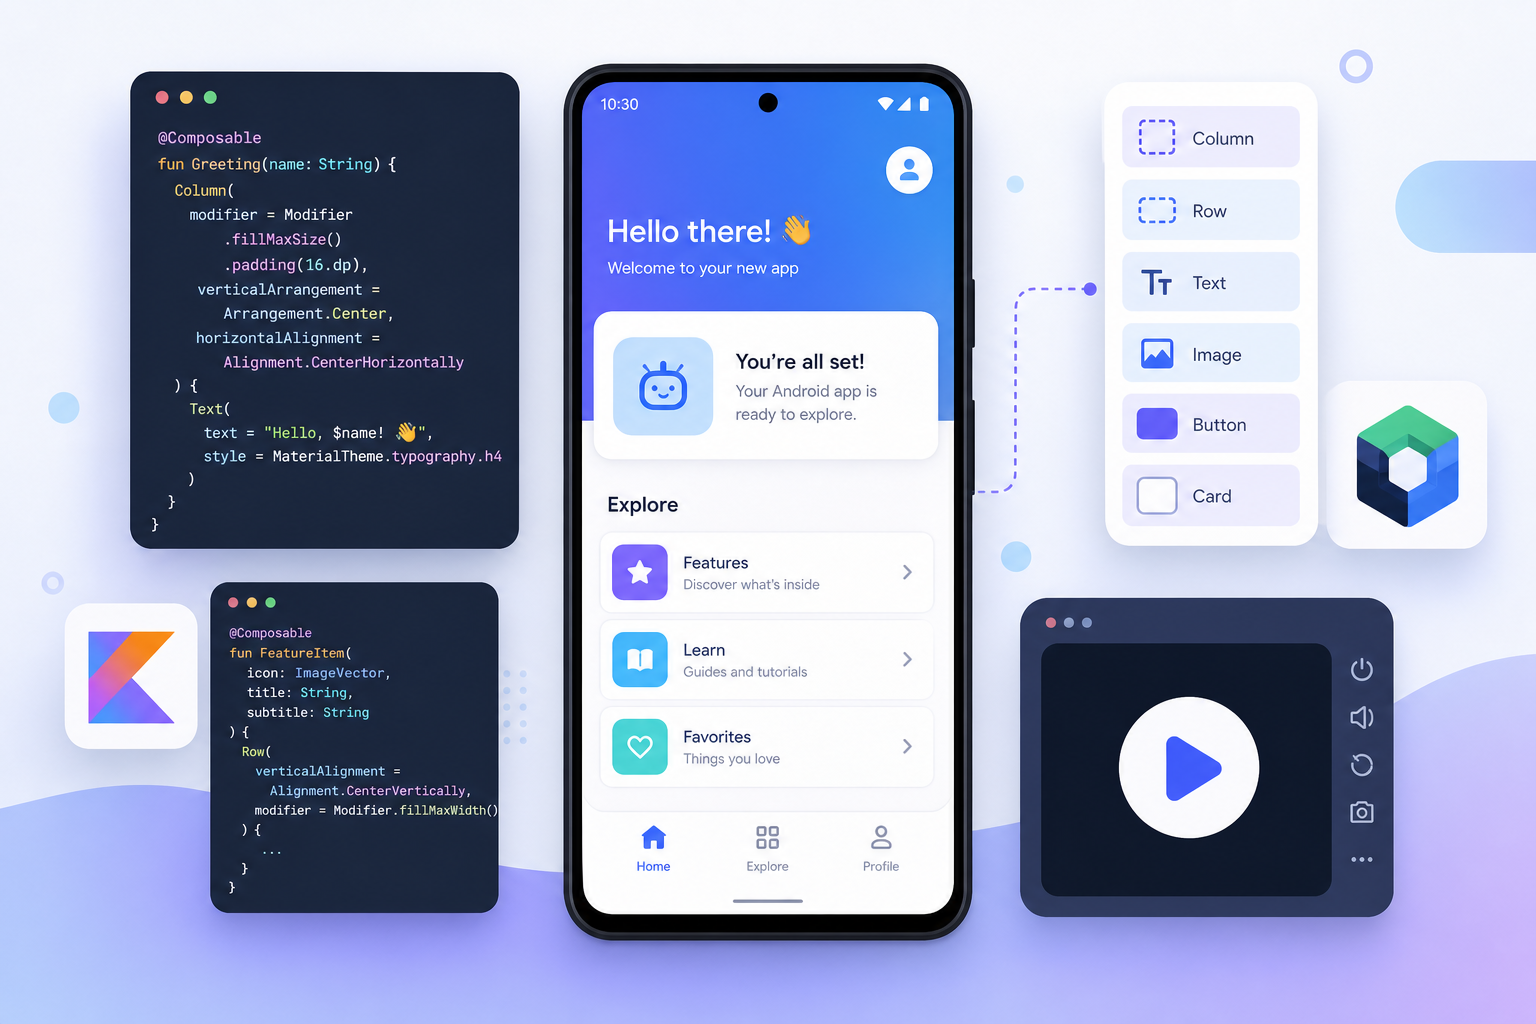
With Jetpack Compose, you describe what the screen should look like using functions marked with the @Composable annotation. Instead of editing a separate layout file, you call functions like Text(), Button(), and Column() directly in Kotlin. Compose then figures out how to render and update them.
Gradle, the build system
Gradle turns your source code and resources into an installable .apk or .aab file. You rarely run it by hand; Android Studio triggers it when you press Run. The file you will edit most is build.gradle.kts, where dependencies and the minimum supported Android version live.
Compose versus XML layouts
You may see older tutorials using XML. Here is how the two approaches compare so you can decide where to invest your time.
| Aspect | Jetpack Compose | XML Views |
|---|---|---|
| Language | Pure Kotlin | XML plus Kotlin/Java |
| UI updates | Automatic on state change | Manual via findViewById |
| Boilerplate | Low | Higher |
| Recommended for new apps | Yes | Legacy maintenance only |
For a new project in 2026, Compose is the clear default. The rest of this guide uses it.
Build Your First Android App: A Step-by-Step Walkthrough
Now for the fun part. You will create a small app that greets the user and updates a counter every time they tap a button. It is tiny, but it teaches the two skills every app needs: drawing UI and reacting to state.
Step 1: Create the project
In Android Studio, choose New Project, then select the Empty Activity template (the Compose version). Give it a name like FirstApp, set the package name, choose Kotlin, and pick a minimum SDK around API 24, which covers the vast majority of active devices. Click Finish and let Gradle sync.
Step 2: Understand the generated entry point
Android Studio creates a MainActivity.kt file. The key part looks like this:
class MainActivity : ComponentActivity() {
    override fun onCreate(savedInstanceState: Bundle?) {
        super.onCreate(savedInstanceState)
        // setContent connects your Compose UI to this screen
        setContent {
            Greeting(name = "Developer")
        }
    }
}
The onCreate function runs when the screen is created. The setContent block is the bridge between the activity and your Compose code: whatever composable you call inside it becomes the visible screen.
Step 3: Write your first composable
Replace the generated greeting with your own composable function. Add this below the class:
@Composable
fun Greeting(name: String) {
    // Column stacks its children vertically
    Column(
        modifier = Modifier
            .fillMaxSize()        // take up the whole screen
            .padding(24.dp),      // breathing room around edges
        verticalArrangement = Arrangement.Center,
        horizontalAlignment = Alignment.CenterHorizontally
    ) {
        Text(
            text = "Hello, $name!",
            fontSize = 28.sp
        )
    }
}
The @Composable annotation tells the compiler this function describes UI. Column arranges items top to bottom, Modifier controls size and spacing, and Text renders the string. The $name syntax injects the parameter into the text using Kotlin string templates.
Step 4: Add interactivity with state
A static greeting is a fine start, but apps respond to users. Add a tap counter so the screen changes when the button is pressed:
@Composable
fun TapCounter() {
    // remember keeps the value across recompositions
    var count by remember { mutableStateOf(0) }

    Column(
        modifier = Modifier.fillMaxSize().padding(24.dp),
        verticalArrangement = Arrangement.Center,
        horizontalAlignment = Alignment.CenterHorizontally
    ) {
        Text(text = "You tapped $count times", fontSize = 22.sp)

        Spacer(modifier = Modifier.height(16.dp))

        Button(onClick = { count++ }) {   // update state on click
            Text("Tap me")
        }
    }
}
This is the heart of Compose. The count variable is state. When you change it inside onClick, Compose automatically redraws any composable that reads count — a process called recomposition. You never manually update the label; the framework does it for you. The remember call ensures the value survives small UI refreshes instead of resetting to zero.
To learn the full Compose API and these helper functions, the official Jetpack Compose documentation is the most reliable reference.
Running and Testing Your First Android App
Press the green Run button at the top of Android Studio, or use the keyboard shortcut. Pick your emulator or connected phone as the target. Gradle compiles the project, installs the package, and launches it. Within a minute, your counter app appears on the screen, and tapping the button increases the number.
While the app runs, keep these debugging tools in mind:
- Logcat — a live stream of system and app messages; use
Log.d("TAG", "message")in your code to print values and trace bugs. - Compose Preview — add the
@Previewannotation above a composable to render it inside the editor without launching the full app, which saves enormous time. - Layout Inspector — examine the live UI tree when something looks off.
Here is a preview function you can drop in to see your UI instantly:
@Preview(showBackground = true)
@Composable
fun TapCounterPreview() {
    TapCounter()
}
The @Preview annotation renders the composable in a side panel. Because it shows a static snapshot, interactive state like the counter resets each time, but it is perfect for checking layout, colors, and spacing before you run the whole app.
Best Practices to Build Your First Android App the Right Way
Good habits early save painful rewrites later. None of these require advanced knowledge; they simply keep your project clean as it grows.
- Keep composables small and focused. One function should draw one logical piece of UI. Break large screens into smaller composables you can reuse and preview independently.
- Lift state up. Pass state down as parameters and send events up as function callbacks. This pattern, called state hoisting, makes composables predictable and testable.
- Never hardcode text or sizes you reuse. Store user-facing strings in
res/values/strings.xmlso translation and edits stay in one place. - Use Kotlin’s null safety. Prefer non-nullable types and let the compiler catch missing values before they crash at runtime.
- Test on more than one screen size. An emulator phone and a tablet profile reveal layout problems fast.
For language fundamentals that underpin all of this, the official Kotlin documentation is concise and beginner friendly.
Common Pitfalls to Avoid When Building Your First Android App
Almost every beginner hits the same handful of snags. Knowing them in advance turns hours of frustration into minutes.
- Forgetting
rememberon state. If you writevar count = mutableStateOf(0)withoutremember, the value resets on every recomposition and the UI seems frozen. - Doing heavy work on the main thread. Network calls or large file reads inside a composable freeze the screen. Move them into coroutines and a
ViewModelas your app grows. - Ignoring Gradle sync errors. When the editor shows red dependency warnings, fix them before coding. Mismatched library versions cause confusing failures later.
- Setting a minimum SDK too high. Picking the newest API only shrinks your potential audience. API 24 is a safe, broad baseline in 2026.
- Skipping the emulator’s first cold boot. The initial launch is slow; that is normal, not a bug. Subsequent runs are much faster.
For the authoritative reference on app components, permissions, and lifecycle, bookmark the Android developer guides.
Frequently Asked Questions
Do I need to know Java to build an Android app in 2026?
No. Kotlin is the recommended language and the default in every new project template. You can build complete, production-ready apps without writing any Java. Knowing Java helps when reading older code, but it is optional for beginners starting today.
How long does it take to build your first Android app?
A simple app like the counter in this guide takes an afternoon, including setup. Reaching comfort with layouts, navigation, and data storage usually takes a few focused weeks. Publishing a polished app to the Play Store is a longer journey measured in months of practice.
Can I build an Android app on a low-end computer?
Yes, with adjustments. The emulator is the heaviest part, so test on a physical phone over USB instead. Close other programs while Android Studio runs, and 8 GB of RAM is workable, though 16 GB makes the experience smoother.
What is the difference between Jetpack Compose and Flutter?
Jetpack Compose is Google’s native UI toolkit for Android, written in Kotlin and producing fully native apps. Flutter is a cross-platform framework using the Dart language that targets Android, iOS, and web from one codebase. Compose is the better choice when your focus is Android specifically.
How much does it cost to publish my app?
Building and testing is free. Publishing to the Google Play Store requires a one-time developer registration fee. Beyond that, you only pay if you use paid cloud services or want to advertise your app.
Conclusion
You now have the full picture of how to build your first Android app in 2026: install Android Studio, learn the core components, describe your screens with Jetpack Compose, manage state so the UI reacts to users, and run it on a device. The counter app you wrote is small, but it contains the same ideas that power apps with millions of downloads.
The single best next step is to keep building. Add a second screen, store the count so it survives restarts, or restyle the UI with your own colors. Each small project cements the fundamentals and brings your original idea closer to something real on your phone. Open Android Studio, start a new project, and build the next version today.